You'll need: The 20 t crawler dozer (every new site has one at the camp).
The 20 t crawler dozer strips topsoil and overburden, pushes pay dirt to where you want it, and levels pads and roads. Its 3.5 m blade lifts, tilts and angles on hydraulic cylinders, and a three-shank ripper behind breaks up compact ground. The blade cuts real ground and carries a real pile in front of it.
Step 1: Drive on the tracks
The dozer drives like the excavator: one track per pedal. LT drives the left track forward and LB back; RT drives the right track forward and RB back (Q / Z and E / C on the keyboard). Both forward goes straight; one forward and the other back turns on the spot.
Step 2: Work the blade
- Right stick back / forward (K / I): raise and lower the blade. Pulling back raises it, pushing forward lowers it.
- Right stick right / left (L / J): tilt the blade, one end down and the other up. Use it to cut a ditch with one corner or to match a cross slope.
- Left stick right / left (U / O): angle the blade, so the soil rolls off one end. Use it to push a windrow to the side.
Lower the blade until its edge just bites, then drive forward. Watch the pile build in front of the blade: if the machine slows right down or the tracks slip, lift the blade a little. Soil spills over the top and off the ends when the pile gets too big; that's real spill and stays on the ground.
Step 3: Use the ripper
Hold X to raise the ripper and A to lower it (R / G). Lower it behind you and drive forward to break up hard or compact ground before you strip it. The blade display shows how deep the tips are, how hard they're pulling, and ON ROCK when they hit rock.
Step 4: Read the blade display
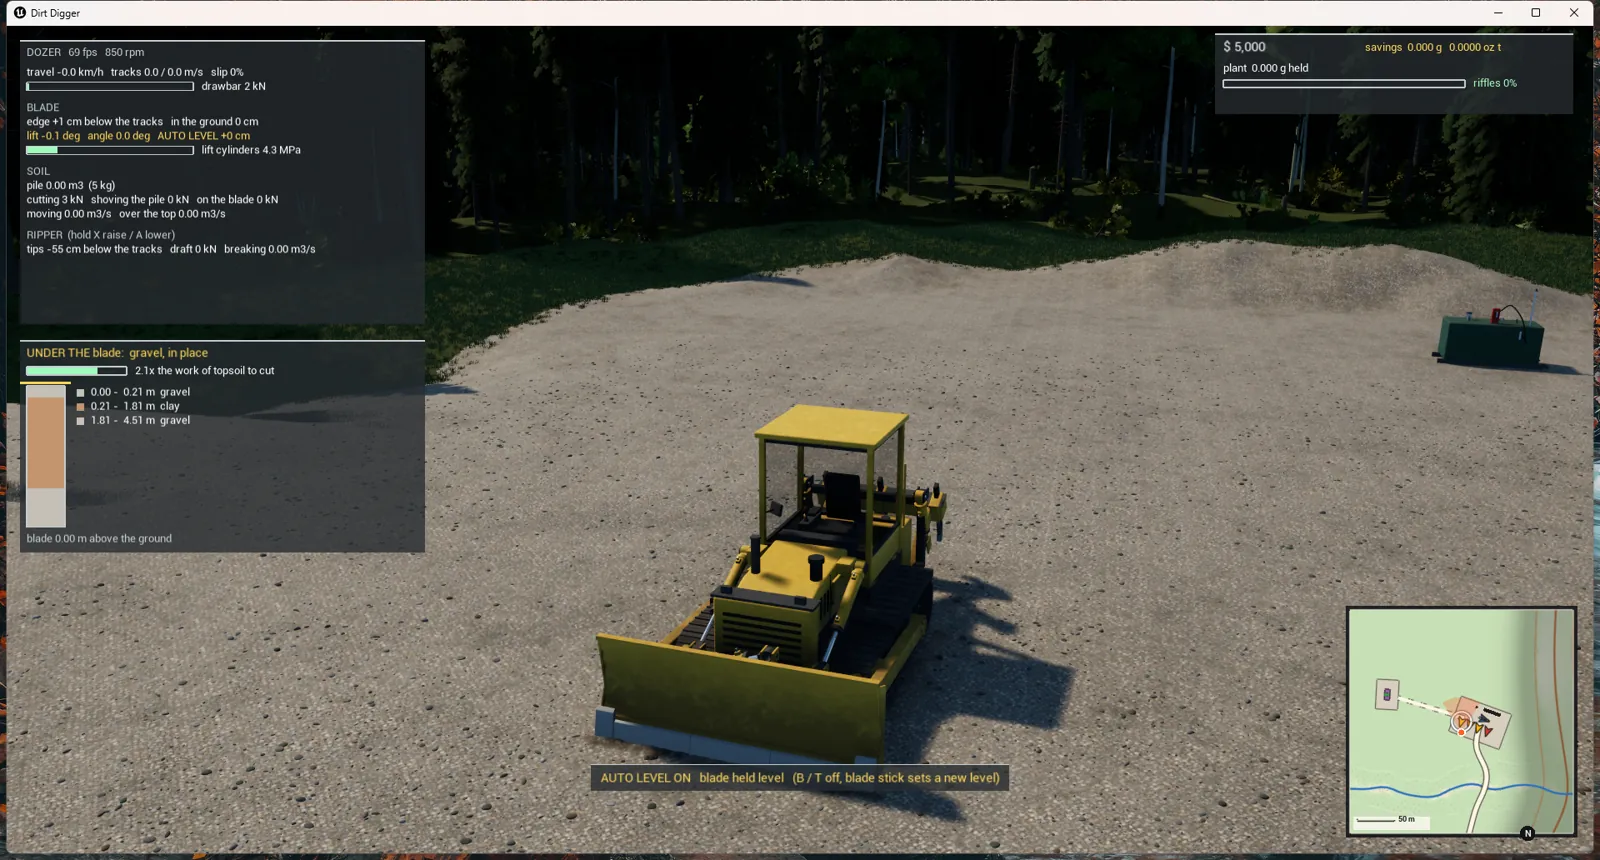
Hold View (or press F1) to show the blade display. The most useful lines:
- edge ... cm below the tracks and in the ground ... cm: how deep the blade is cutting.
- AUTO LEVEL +N cm (in amber, when auto level is on): how far the blade's edge is from the level it's holding.
- pile ... m3: how much soil is on the blade.
- slip: how much the tracks are spinning.
Step 5: What auto level does
Auto level is a grade control: press B (T) and the dozer holds the middle of its blade's cutting edge at the height it's at right now. As you drive, the machine pitches over bumps and dips, which would normally move the blade up and down and leave the ground wavy. With auto level on, the machine works the lift cylinders itself to keep the edge at the same height, so the ground you leave behind is flat.
It also keeps the blade level side to side, using the tilt cylinders (they can tilt about 6.5 degrees each way), so one track riding on a hump doesn't drag one end of the blade into the ground.
The line along the bottom of the screen always tells you what auto level is doing:
| The line says | What it means |
|---|---|
| Auto level: off | You have the blade, as normal. |
| Auto level: ON | The machine is holding the level. |
| Auto level: ON (you have the blade: let go to set the level) | You're moving the blade stick. When you let go, the machine decides on the new level (see below). |
| Auto level: ON (blade up, lower it to resume) | You lifted the blade well above the level. The level is remembered; lower the blade back to it and auto level takes over again. |
| (eased up N cm to keep moving) | The cut was more than the machine could push, so it lifted the blade a little to keep moving. |
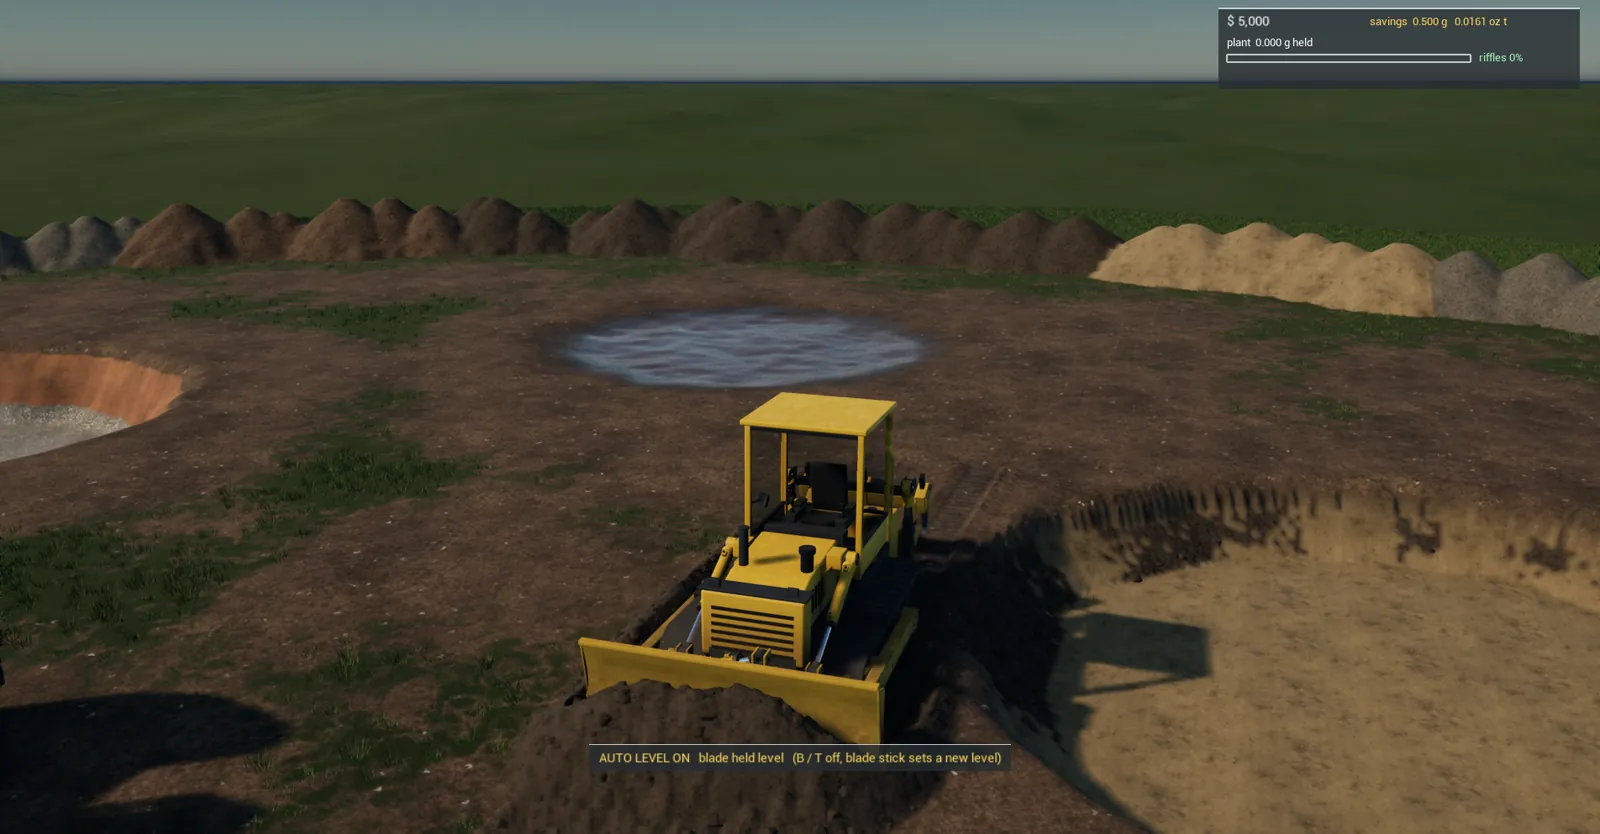
Step 6: Cut a flat grade with auto level
- Drive to where you want the flat area to start. Lower the blade until it's at the height you want the finished ground.
- Press B (T) to turn auto level on. The bottom line reads Auto level: ON.
- Drive forward. Leave the blade stick alone and let the machine hold the height. It cuts the high spots down to the level and no deeper.
- At the end of the pass, lift the blade (more than about 20 cm), back up, and lower it again. The bottom line says blade up, lower it to resume while it's lifted. As soon as the blade comes back down near the level, auto level takes over at the same grade, so your second pass matches the first.
- Repeat, overlapping each pass a little, until the whole area is flat.
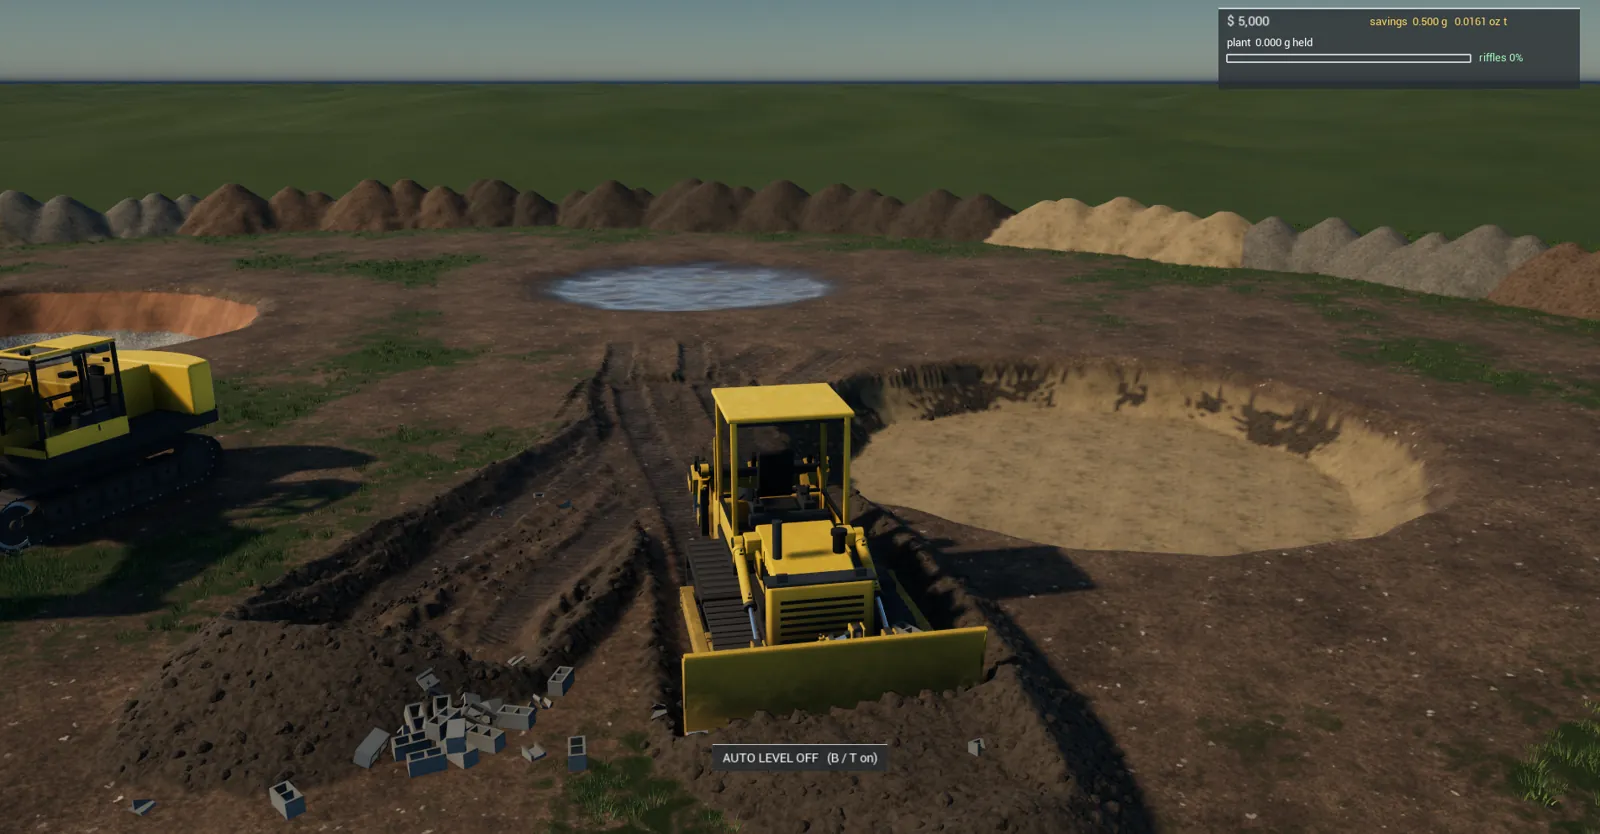
Step 7: Change the level while it's on
You can adjust the level without turning auto level off:
- A small change: move the blade stick and let go with the blade within about 20 cm of the old level. The new height becomes the level.
- Going lower: lower the blade below the level and let go. That becomes the new level, but never more than one working cut (about 24 cm on the 20 t) below the firm ground just ahead of the blade. Several small steps down take you deeper, a cut at a time.
- A tap of the stick (less than a quarter of a second) doesn't change the level; the blade goes back to where it was.
- The stick only takes the blade from auto level once you push it clearly: past a fifth of its travel (or past two fifths if you're tilting or angling harder at the same time). So a little lift leaking into a tilt doesn't spoil your grade.
- A big change of grade: turn auto level off, set the blade where you want it, and turn it on again.
Step 8: When the machine can't push the cut
If you set a level that's deeper than the machine can push through, it doesn't just stall. When the dozer slows below a crawl with a loaded blade and the tracks pulling hard, auto level lifts the blade a little at a time to give up some of the cut, until the machine moves again. As it picks up speed, the blade settles back down to the level. The bottom line shows (eased up N cm to keep moving) while this happens. Your next pass takes the rest.
While you're stopped or barely moving, auto level won't push the blade down into the ground (a blade pressed down while the machine isn't moving just lifts the front of the dozer). It waits until you're moving.