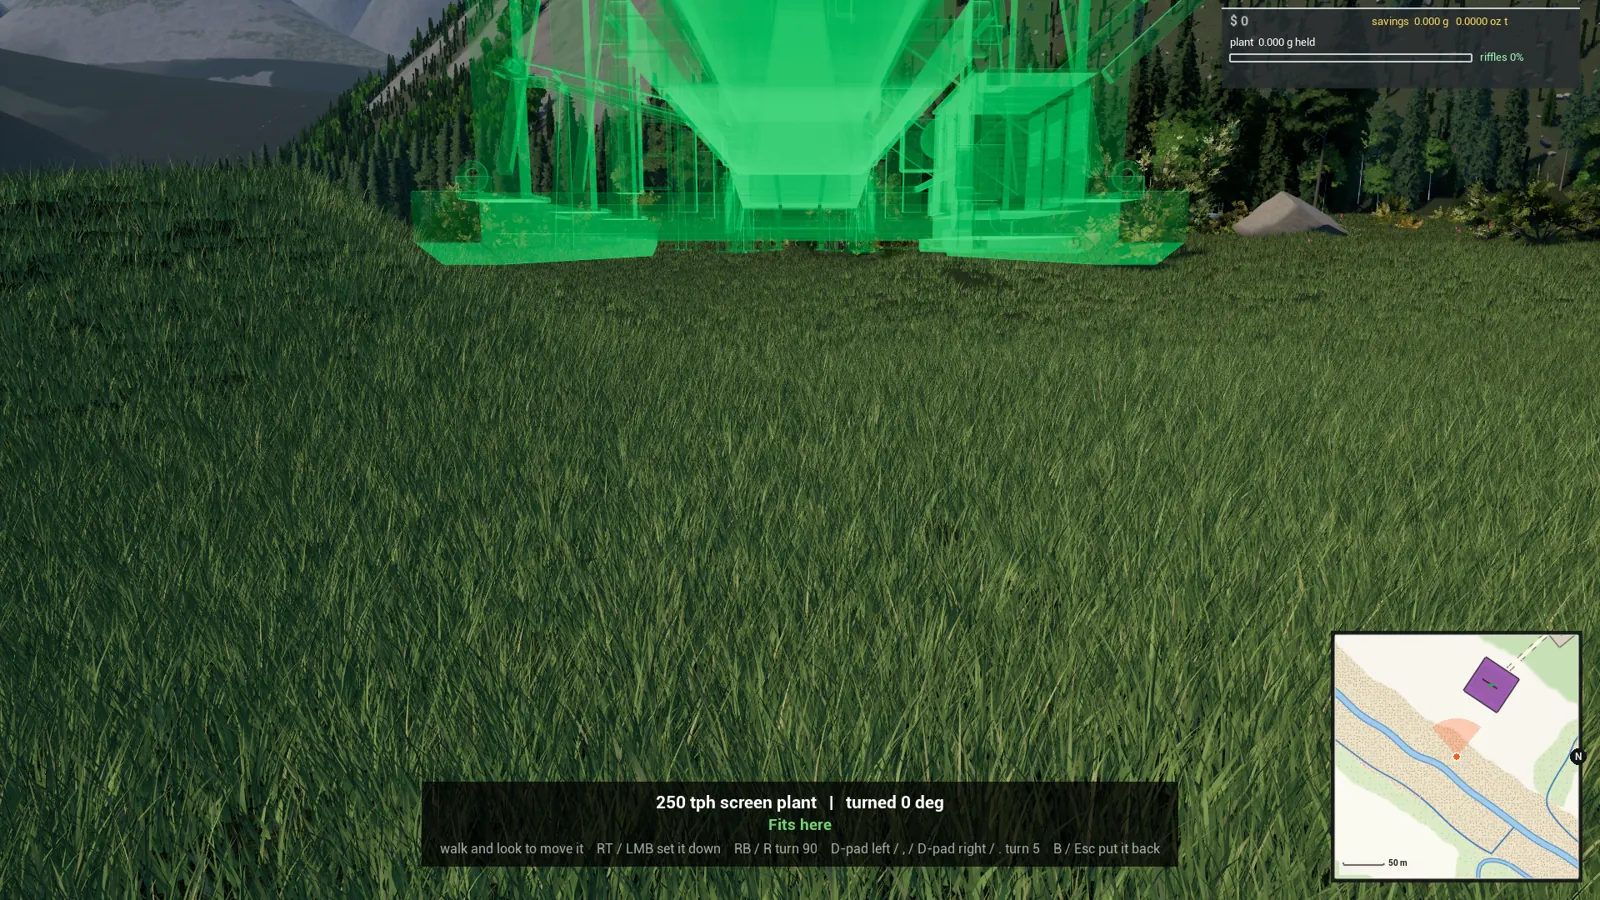
You'll need: A Claim 1 site with a wash plant that has been running, so there's gold in its riffles. Everything in the gold room is done on foot.
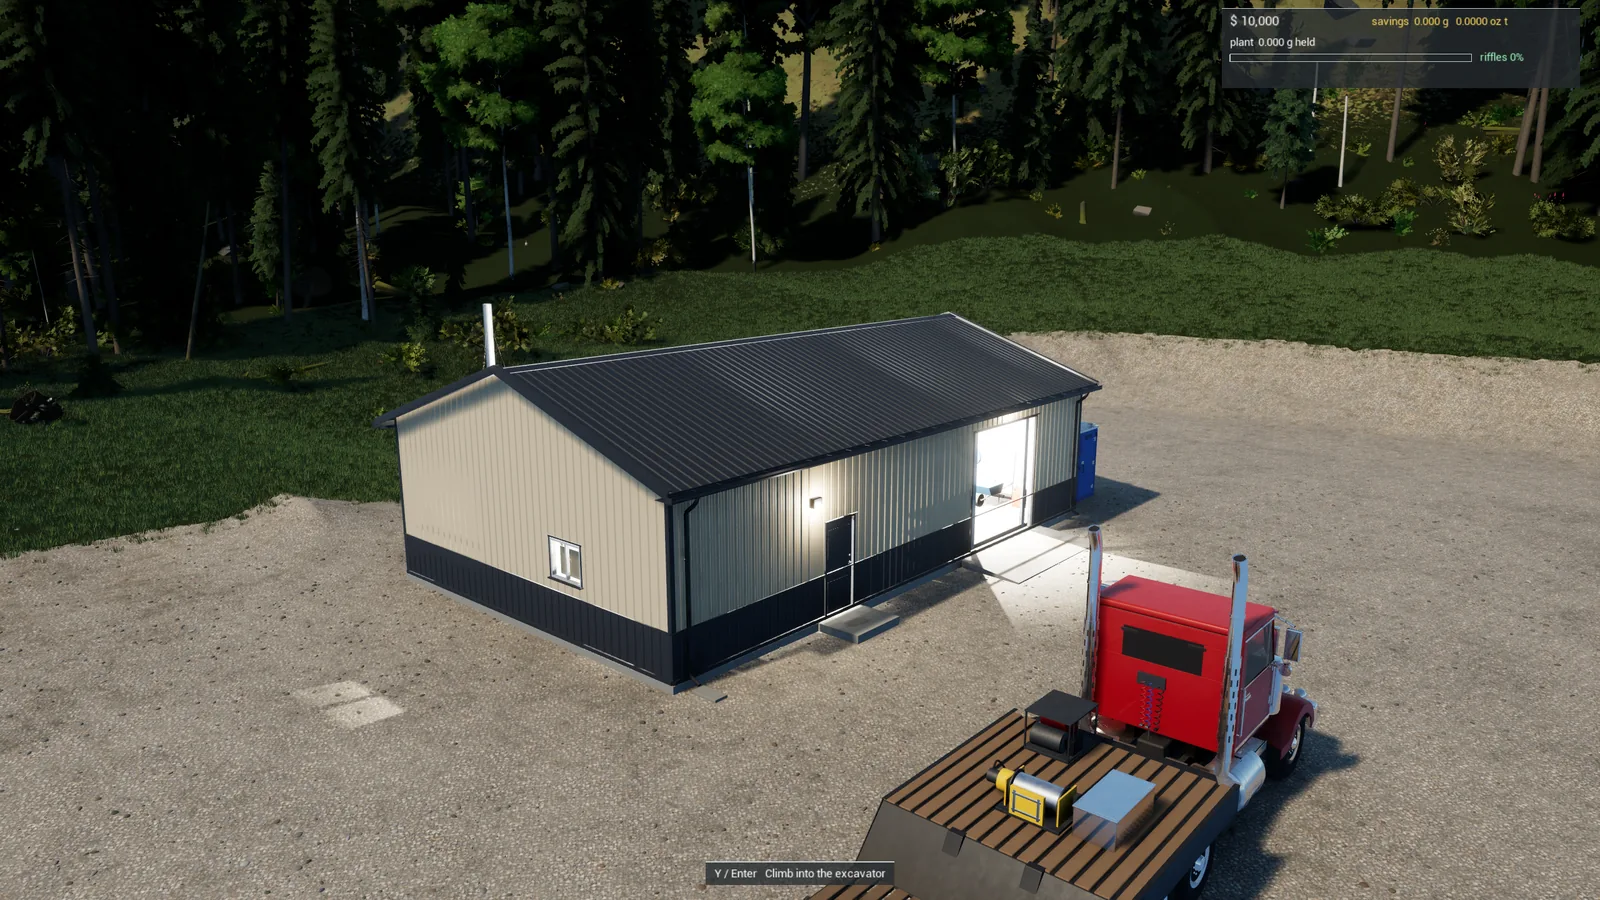
The gold room is the steel building at the Claim 1 camp. It's where a wash plant's clean-up becomes gold you can see, weigh and sell: the concentrate from the sluice goes in at the big door in tubs, runs over a shaker table, is dried, cleaned with a magnet and weighed, and ends up as jars of gold in the safe. The furnace pours that gold into bars, and bars sell for more than loose gold.
Every step is done on foot with two buttons: Y (E) does the main thing at whatever you're standing at, and X (R) does the second thing when there is one. The prompt at the bottom of the screen always tells you what each will do, and a panel on the right shows the station's readout.
Step 1: Find the building and open it up
The gold room stands on its slab at the camp, beside the parked machines. It has two ways in:
- The walk door on the long side. Walk up to it and press Y (E) to open or shut it.
- The big roll-up door at the end, wide enough to drive a pickup into the bay. Outside, stand in front of it and press Y (E): the prompt reads Run the big door up or Run the big door down. Inside, the same prompt comes up at the button beside the door, so you can close it behind you.
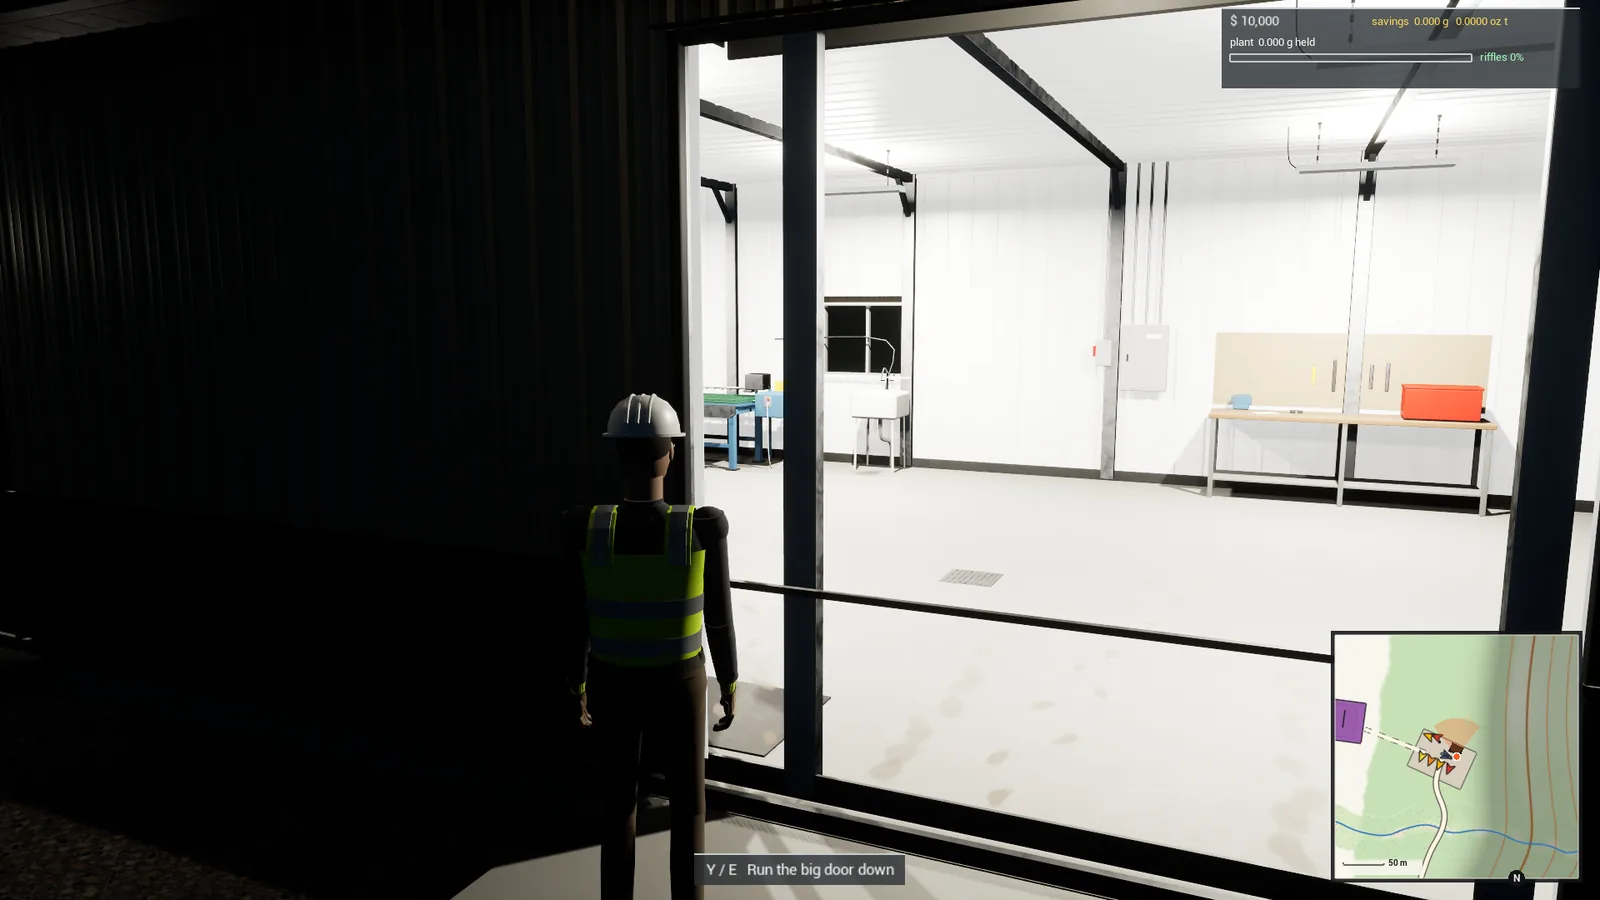
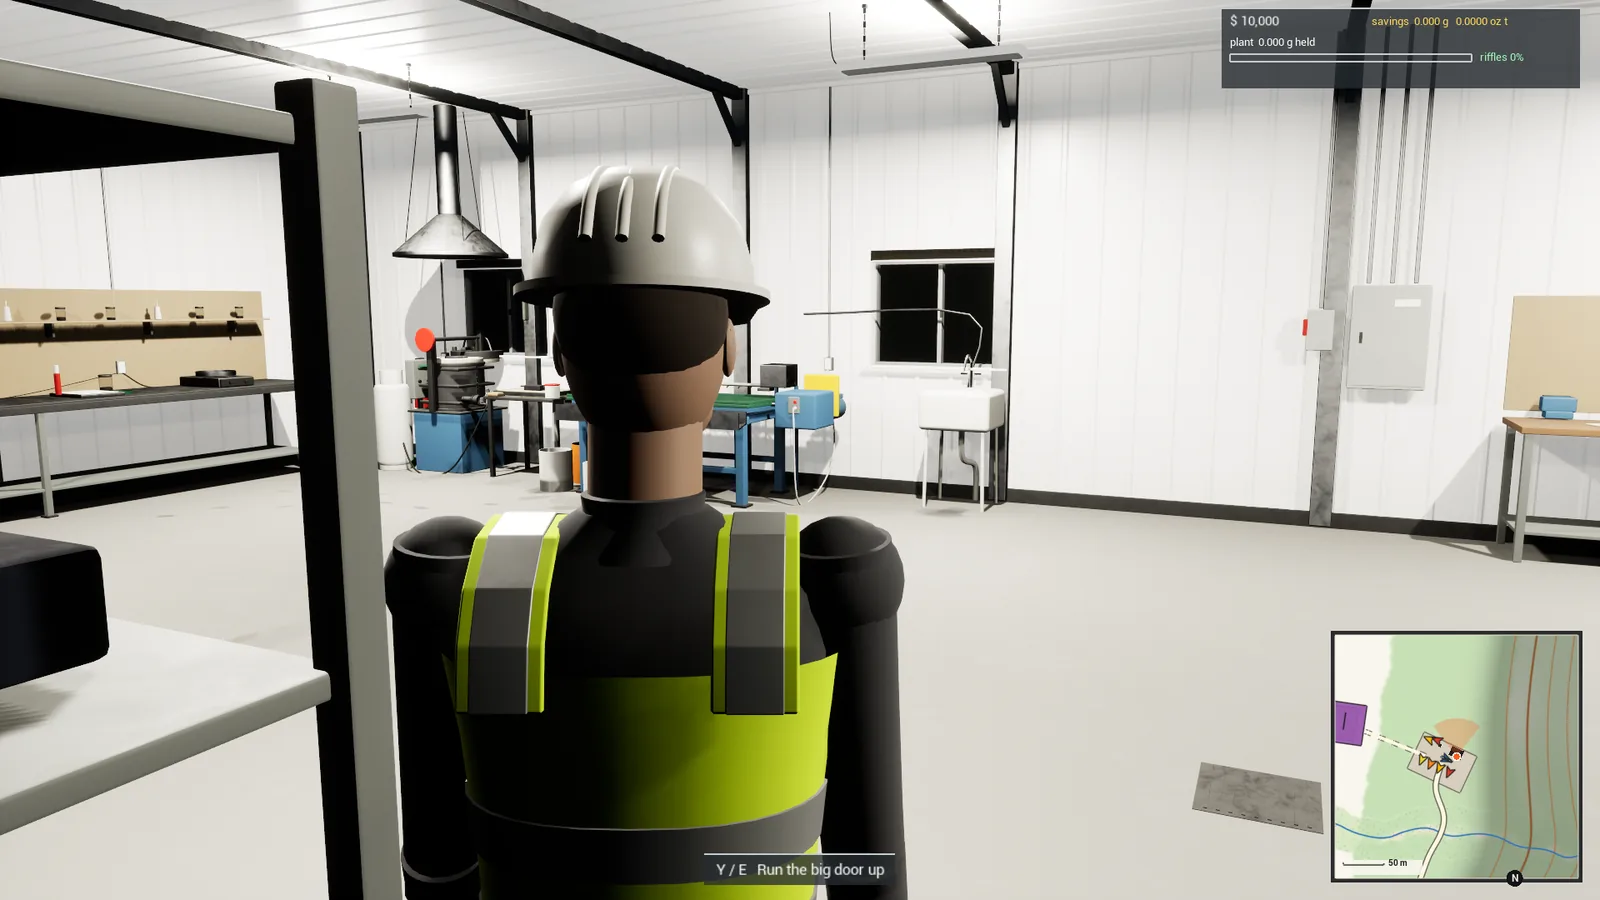
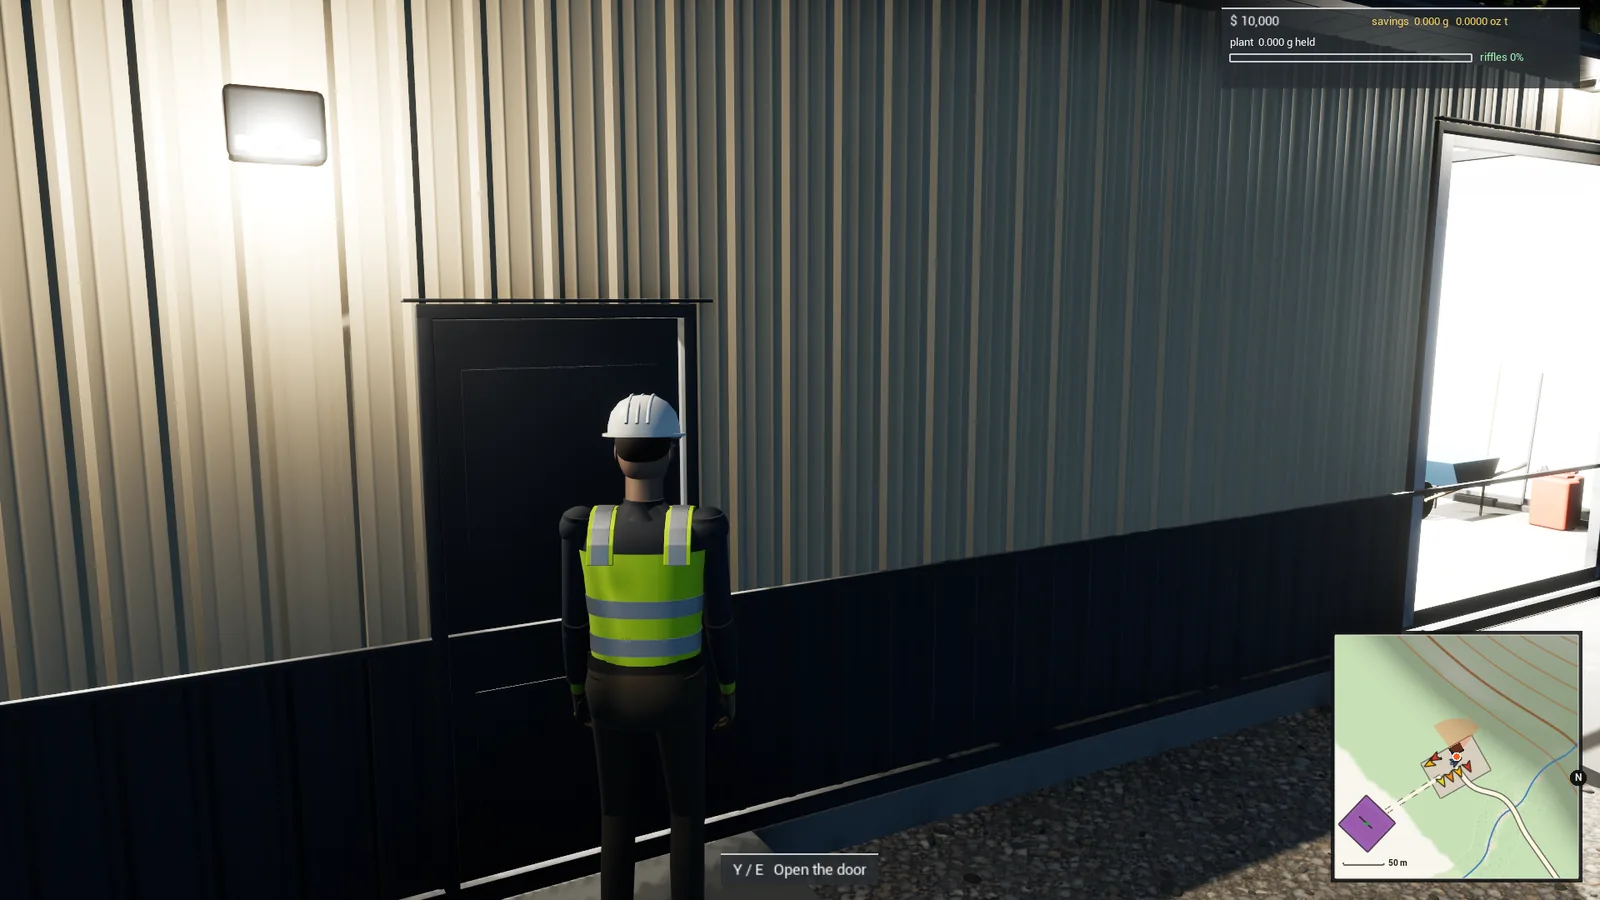
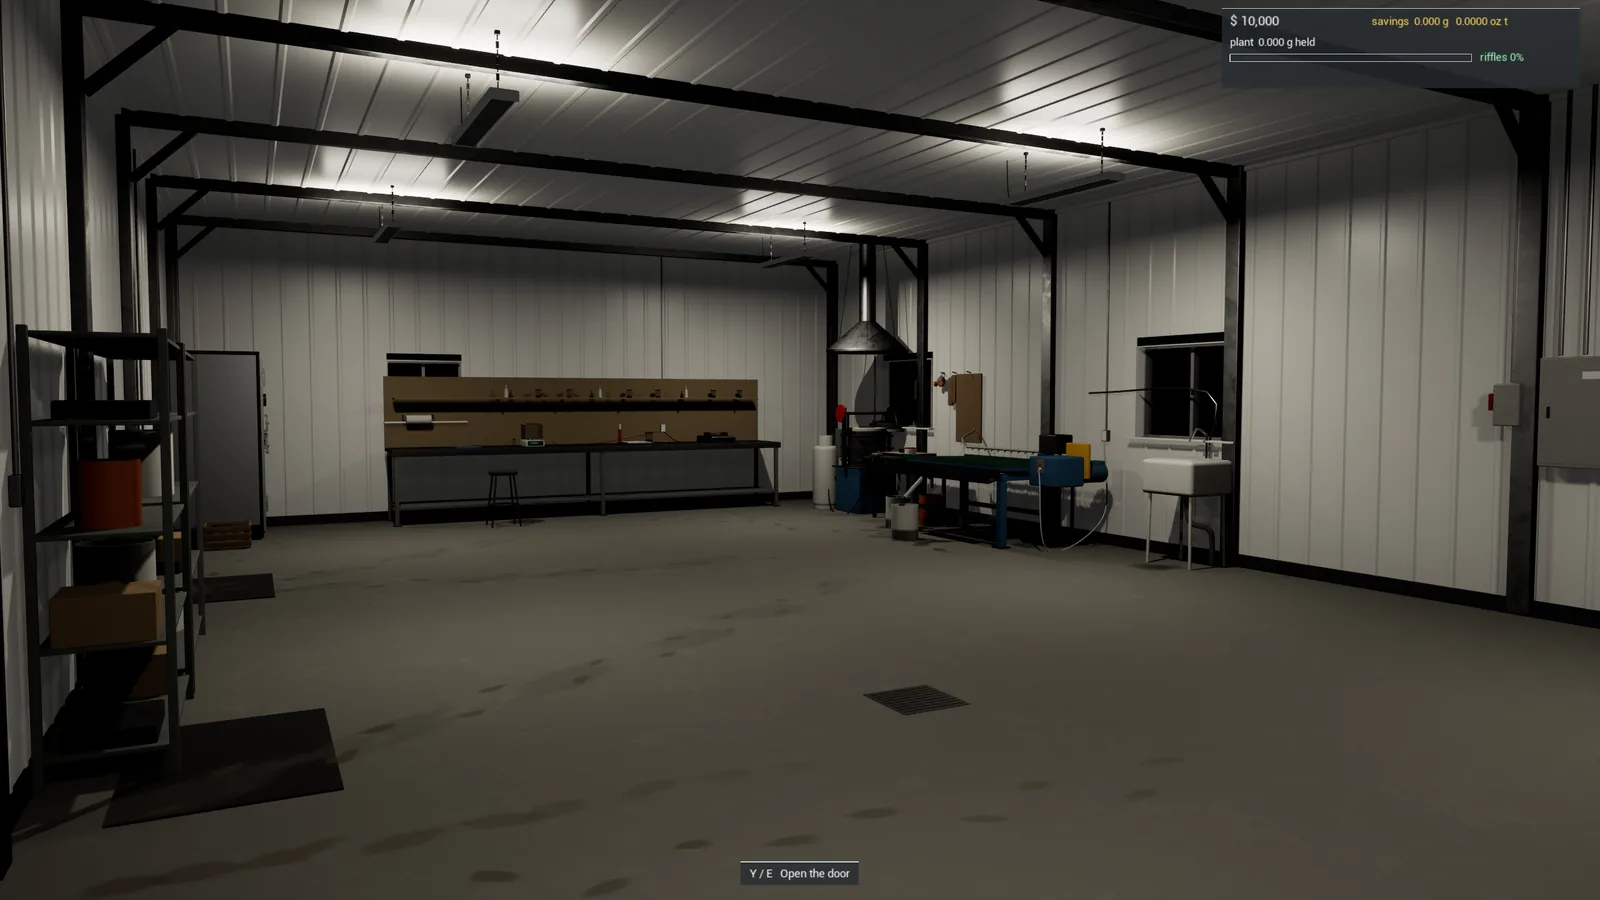
Inside there's a bay for the tubs, the shaker table along the wall, a bench with the hot plate, the magnet tray and the gold scale, the safe with a crate of empty jars beside it, and the furnace under its hood.
Step 2: Clean up the plant into tubs
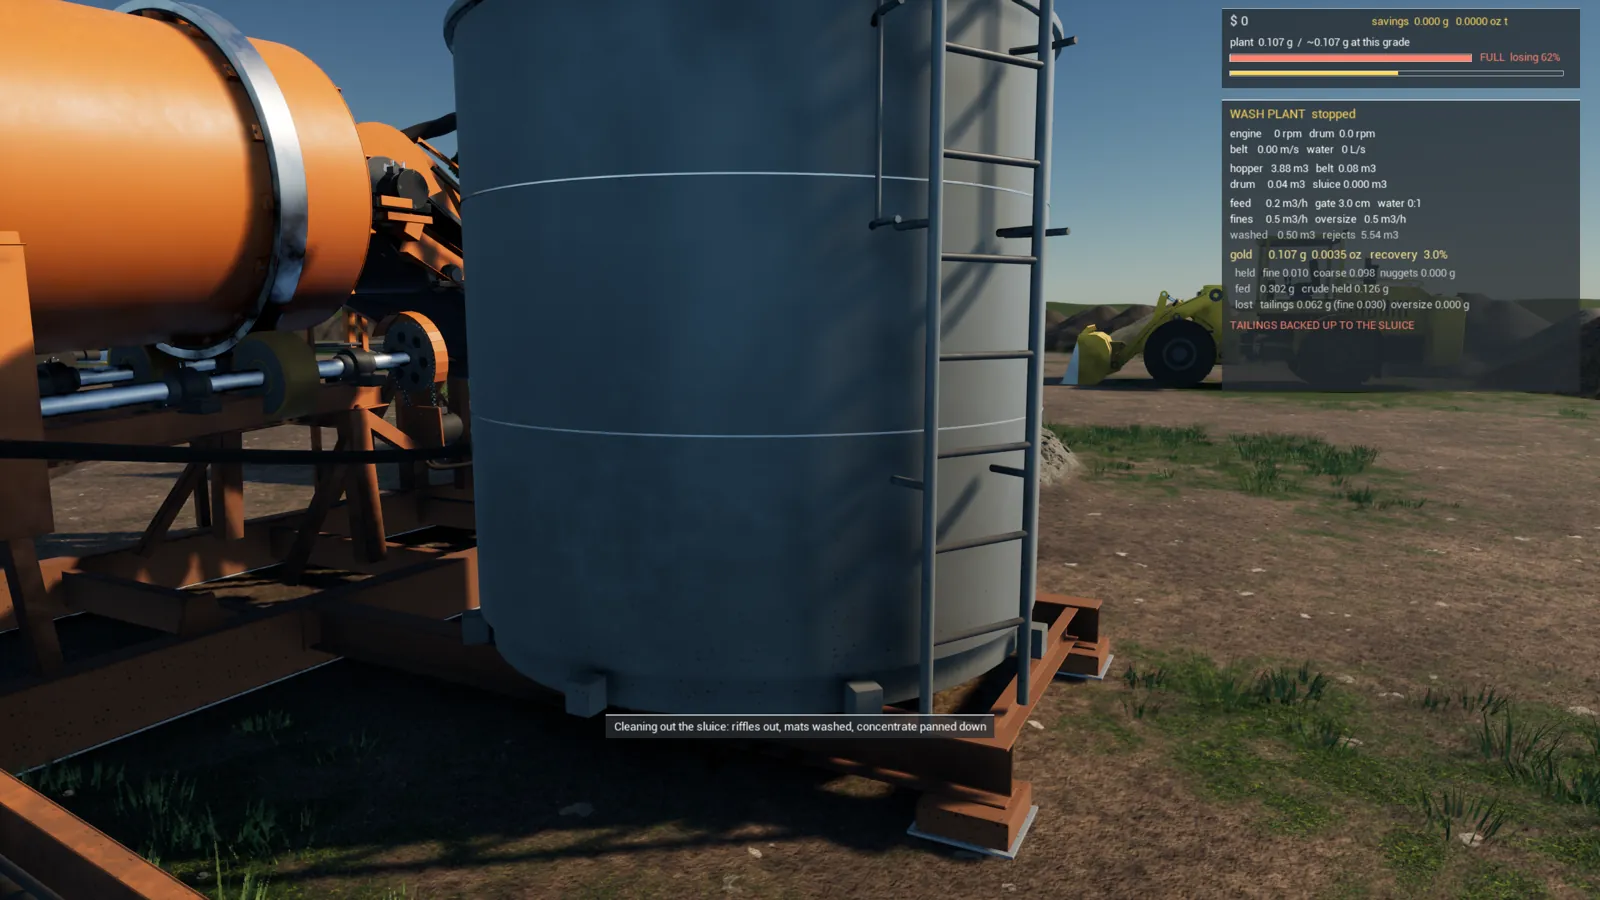
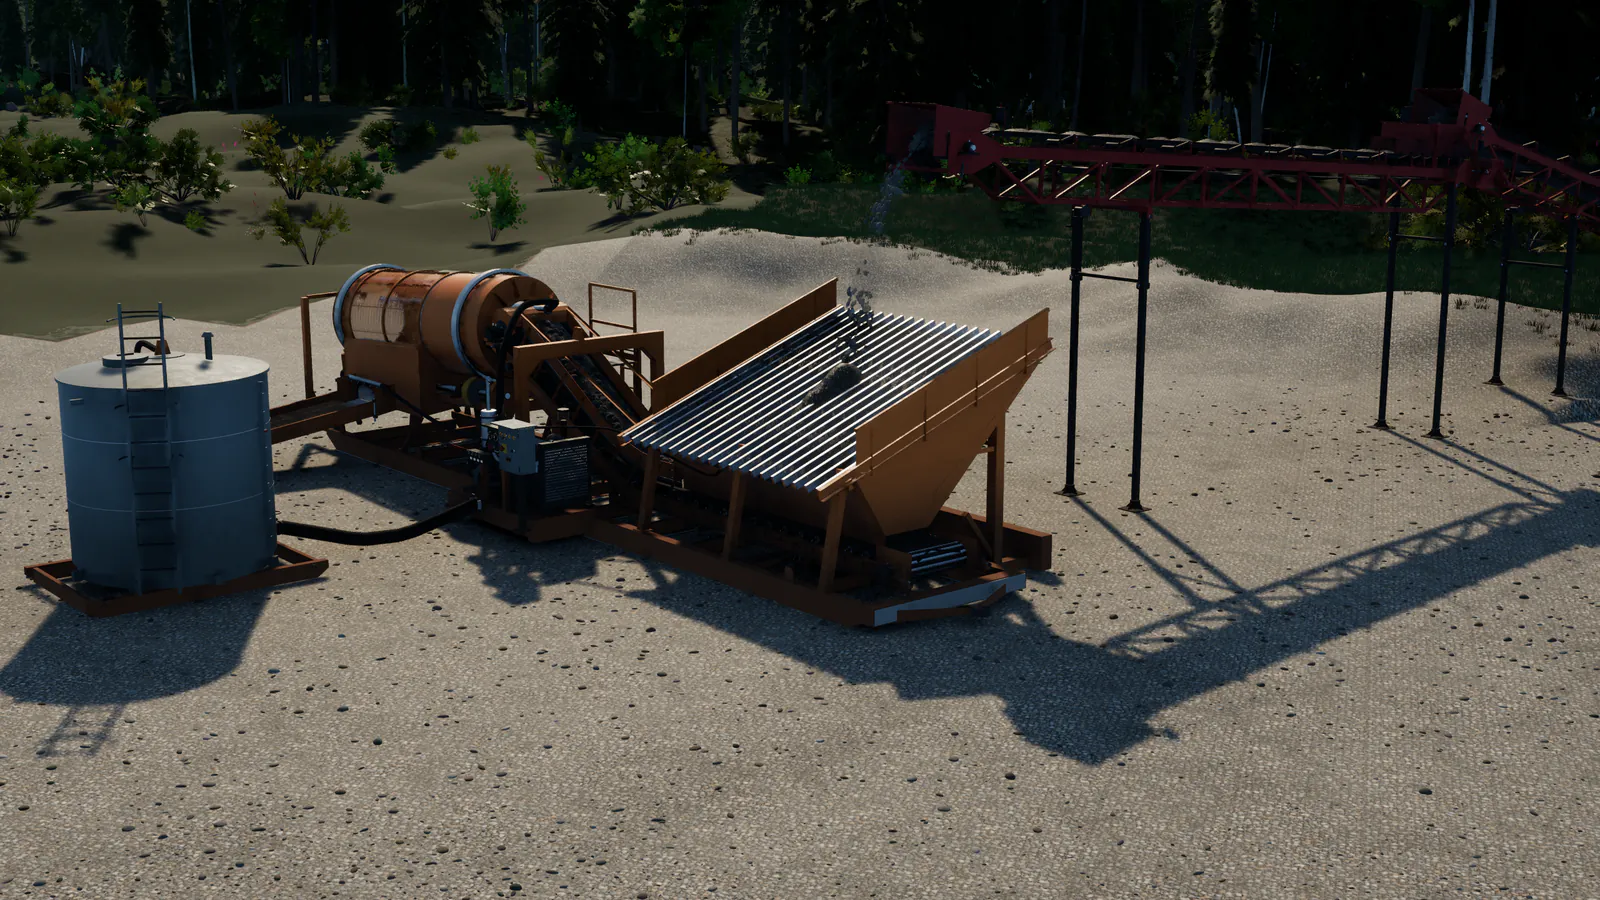
With a gold room on the site, a clean-out no longer drops the gold straight into your savings. Stop the wash plant at its panel and clean out its sluice as usual (see Cleaning out a wash plant): the riffles and mats come out and the concentrate (the heavy black sand with the gold in it) goes into 20 L tubs, set down in a row beside the sluice.
A bigger clean-up fills more tubs. The gold is shared out between them, with the most in the first ones, so run them all.
Step 3: Carry the tubs to the gold room
Walk up to a tub and press Y (E) to pick it up. The prompt shows what's in it and its weight. Press Y again to set it down.
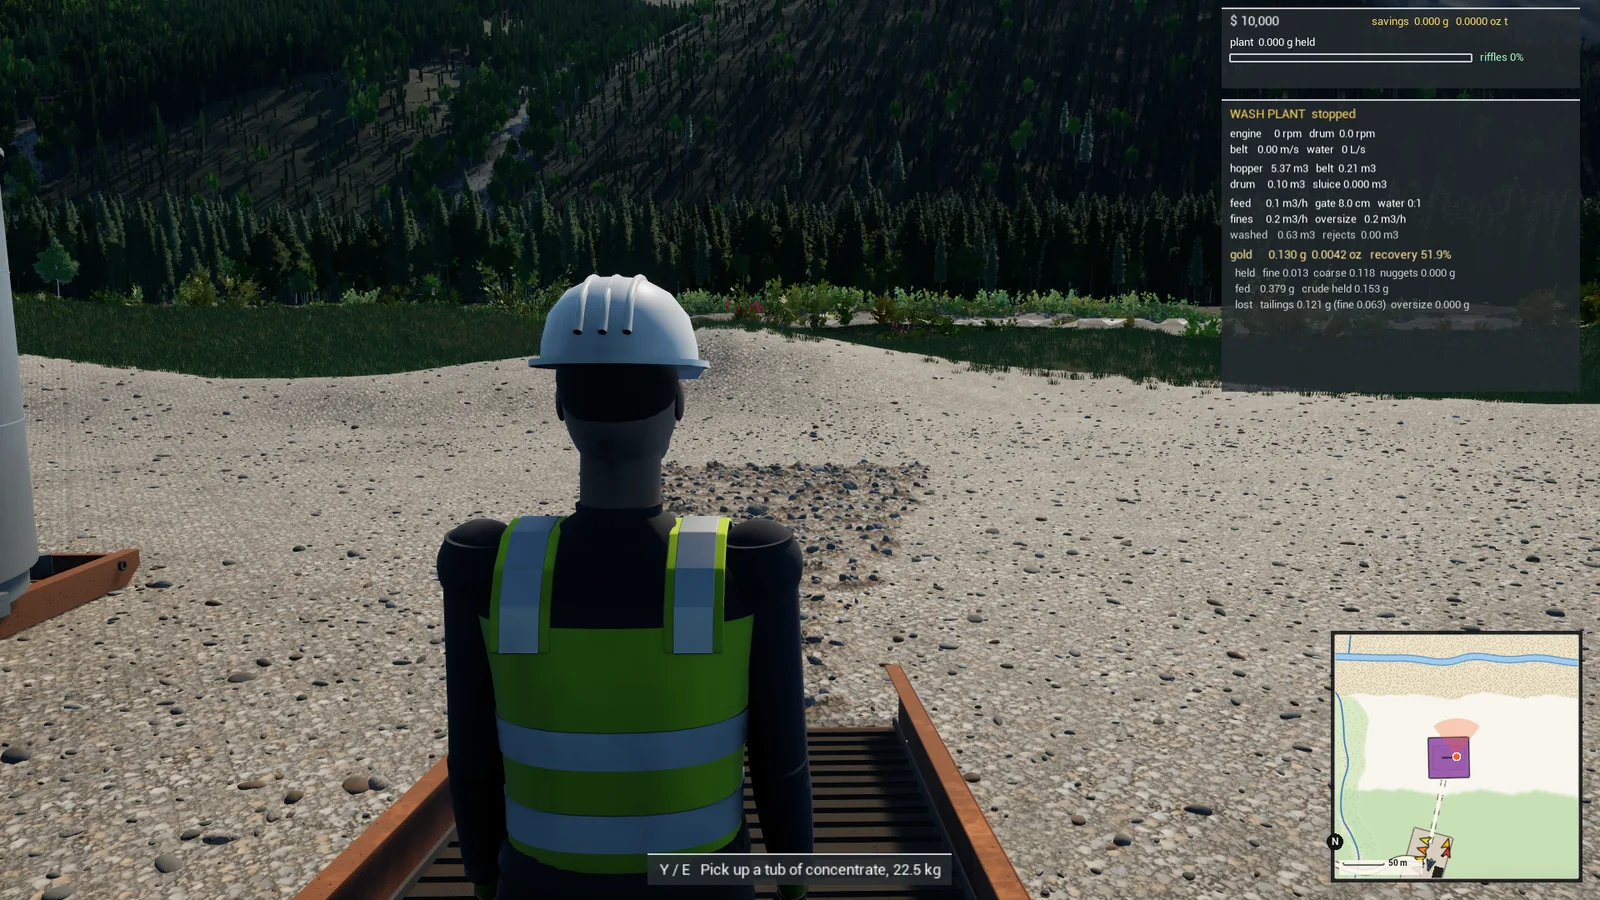
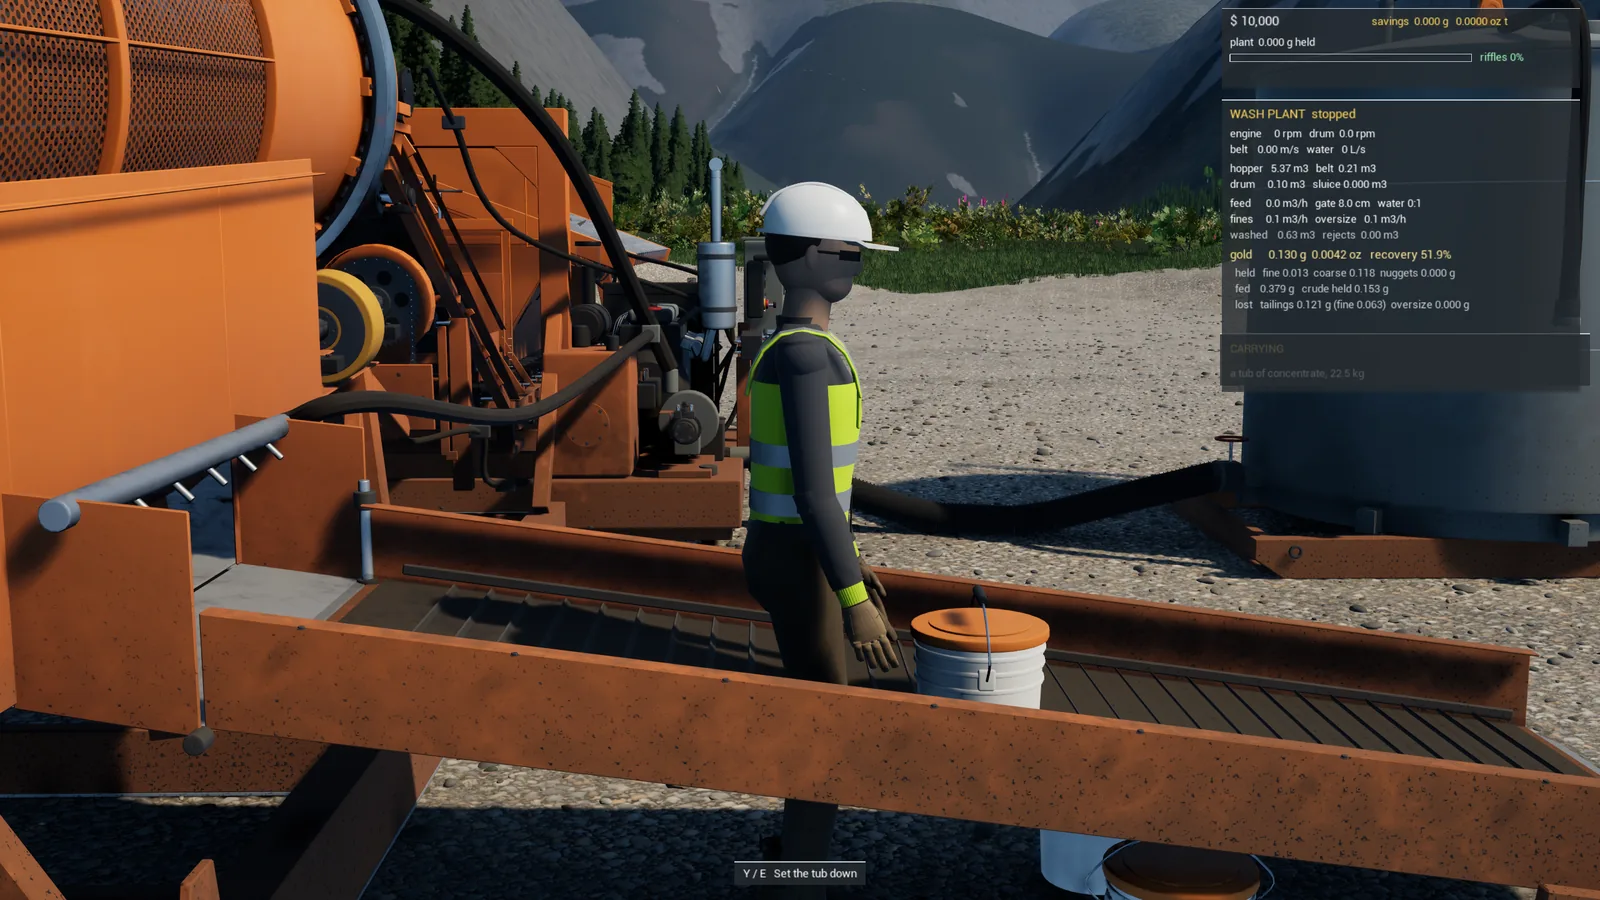
For more than a couple of tubs, set them in the pickup's bed: a tub set down on a vehicle rides along with it. Back the pickup into the bay with the big door up and carry them in from there.
Step 4: Run the shaker table
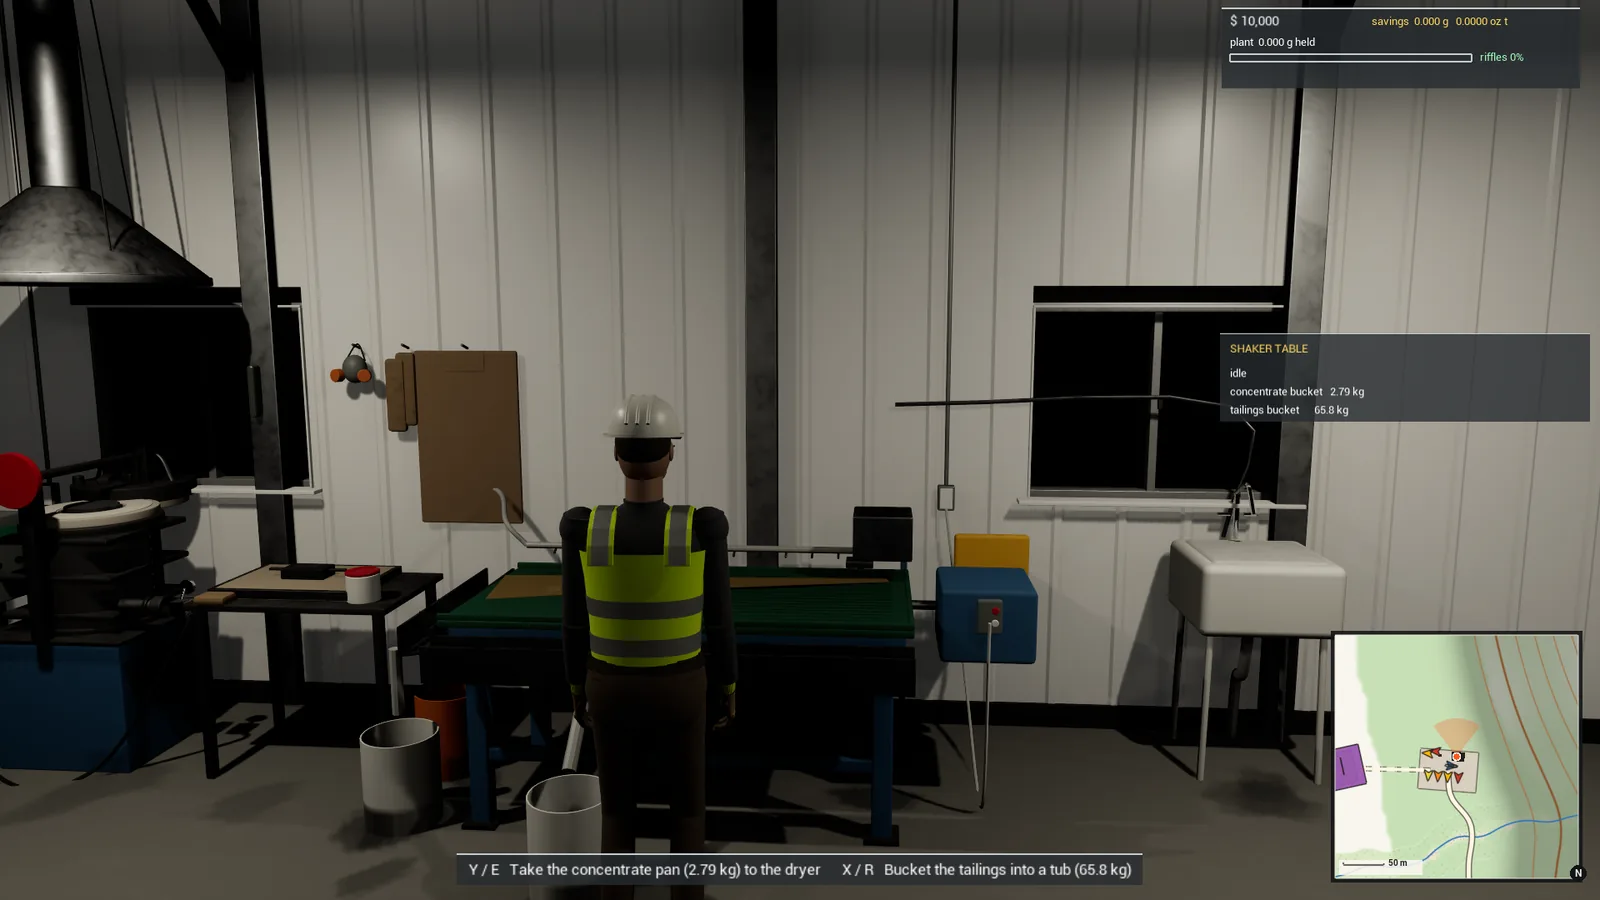
Carry a tub to the shaker table and press Y (E): Feed the tub to the shaker table. The deck starts shaking and you can watch the concentrate spread across it: the gold runs off as a yellow streak to the concentrate end, and the lighter black sand fans out across to the tailings.
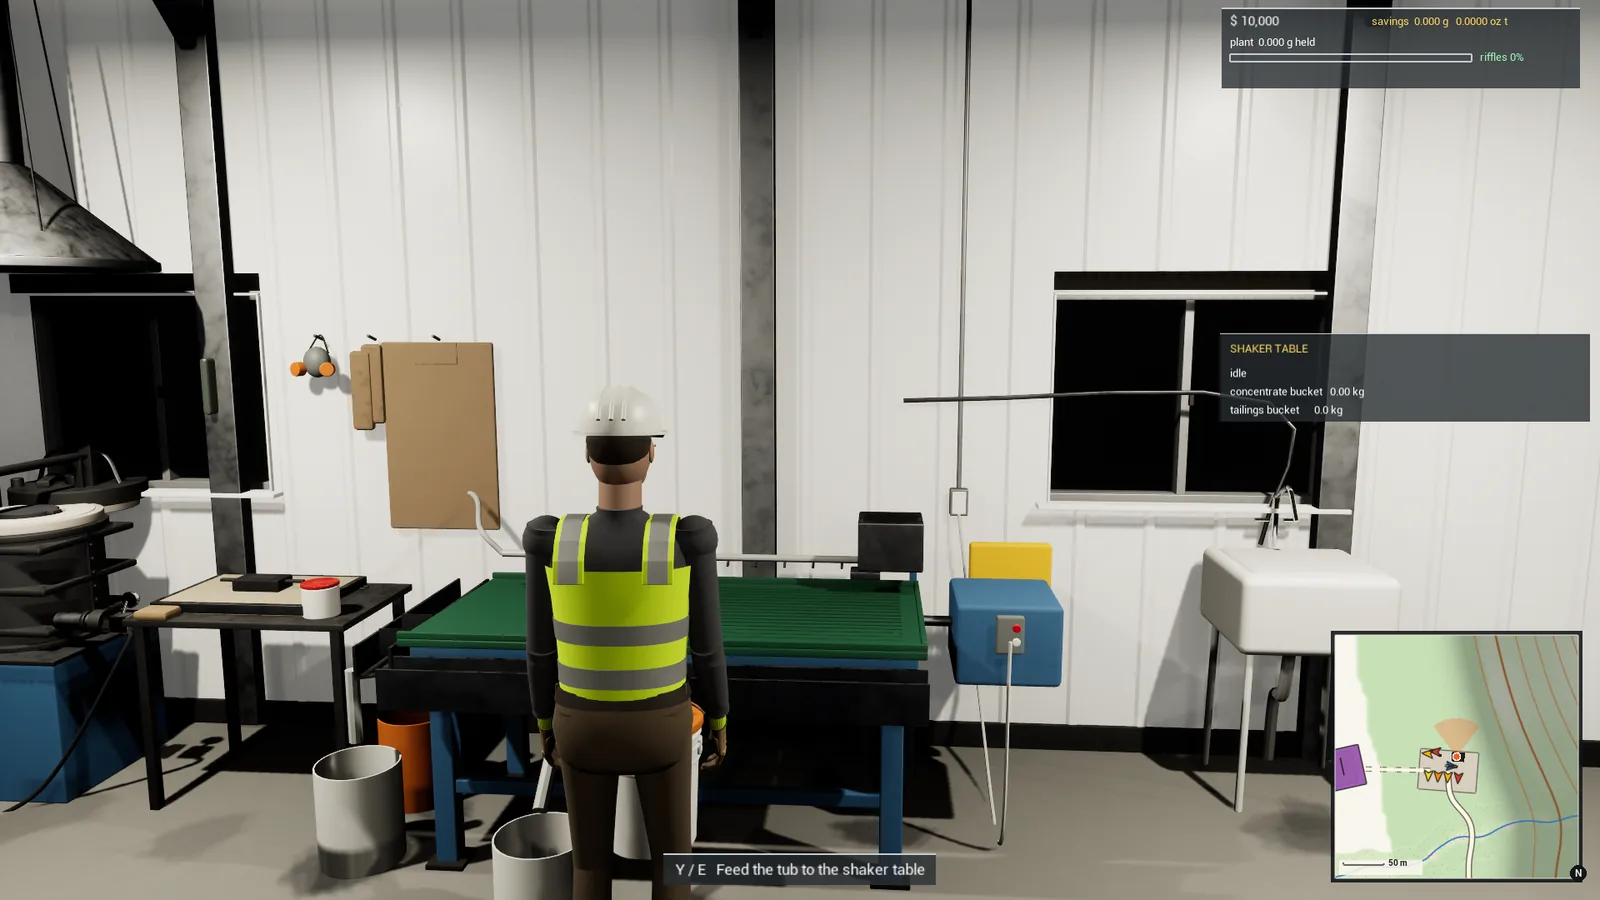
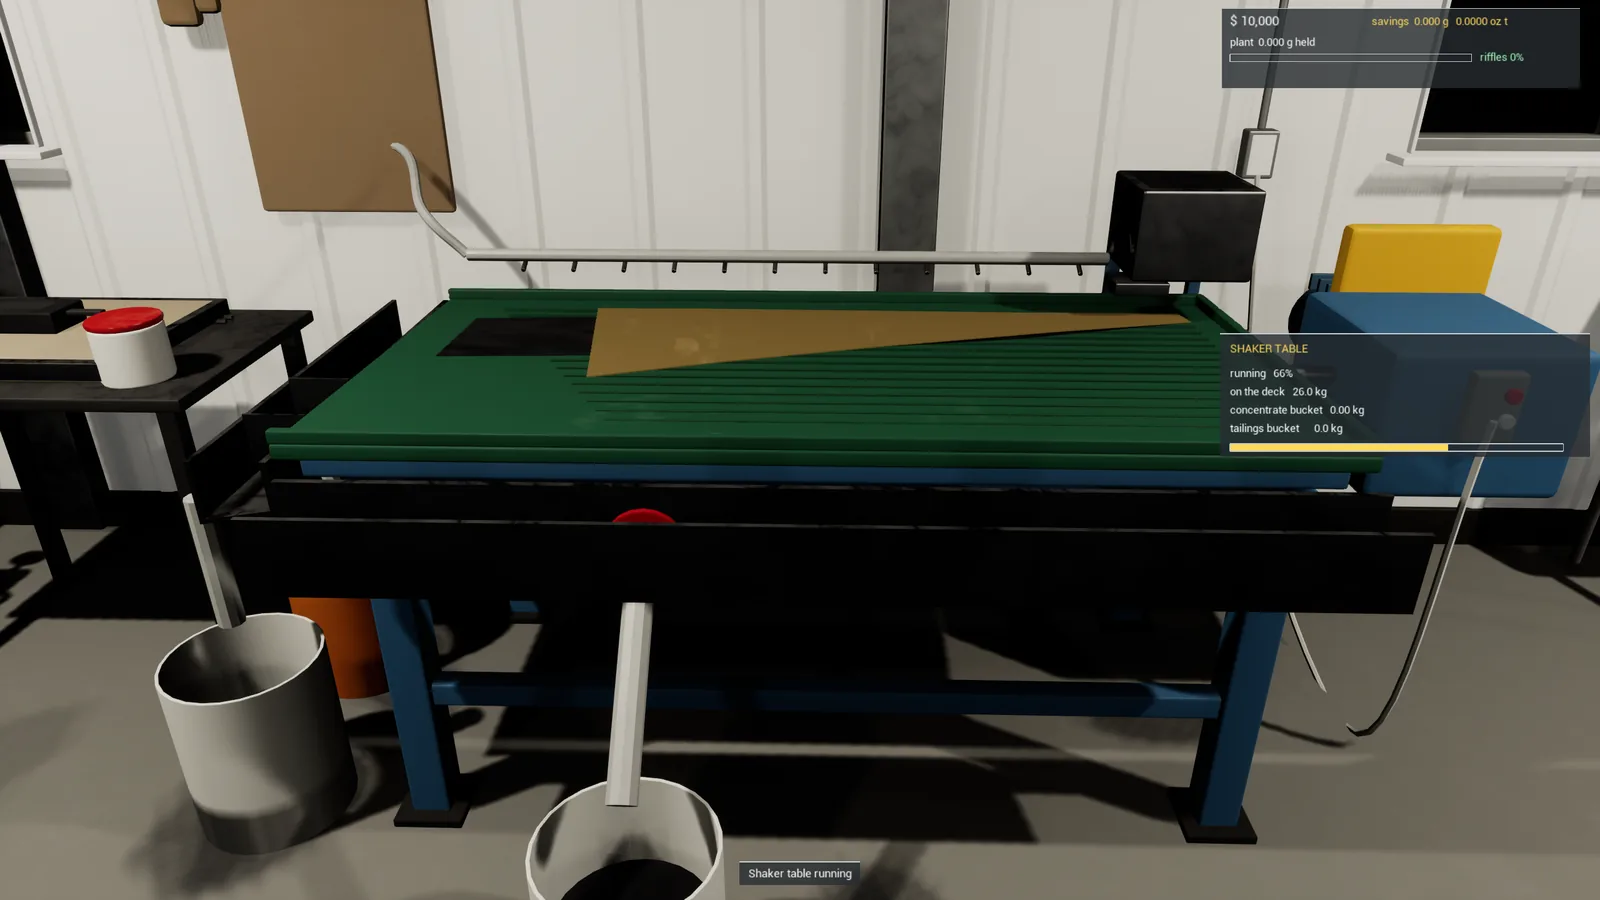
The table's panel shows how far the run has got, what's in the concentrate bucket and in the tailings bucket. The table is very good with coarse gold (it keeps about 99.5% of it) and good with fine gold (about 82%). Feed the next tub when the run is done: the table takes one tub at a time, and each run adds to the same concentrate pan.
Step 5: Dry the concentrate on the hot plate
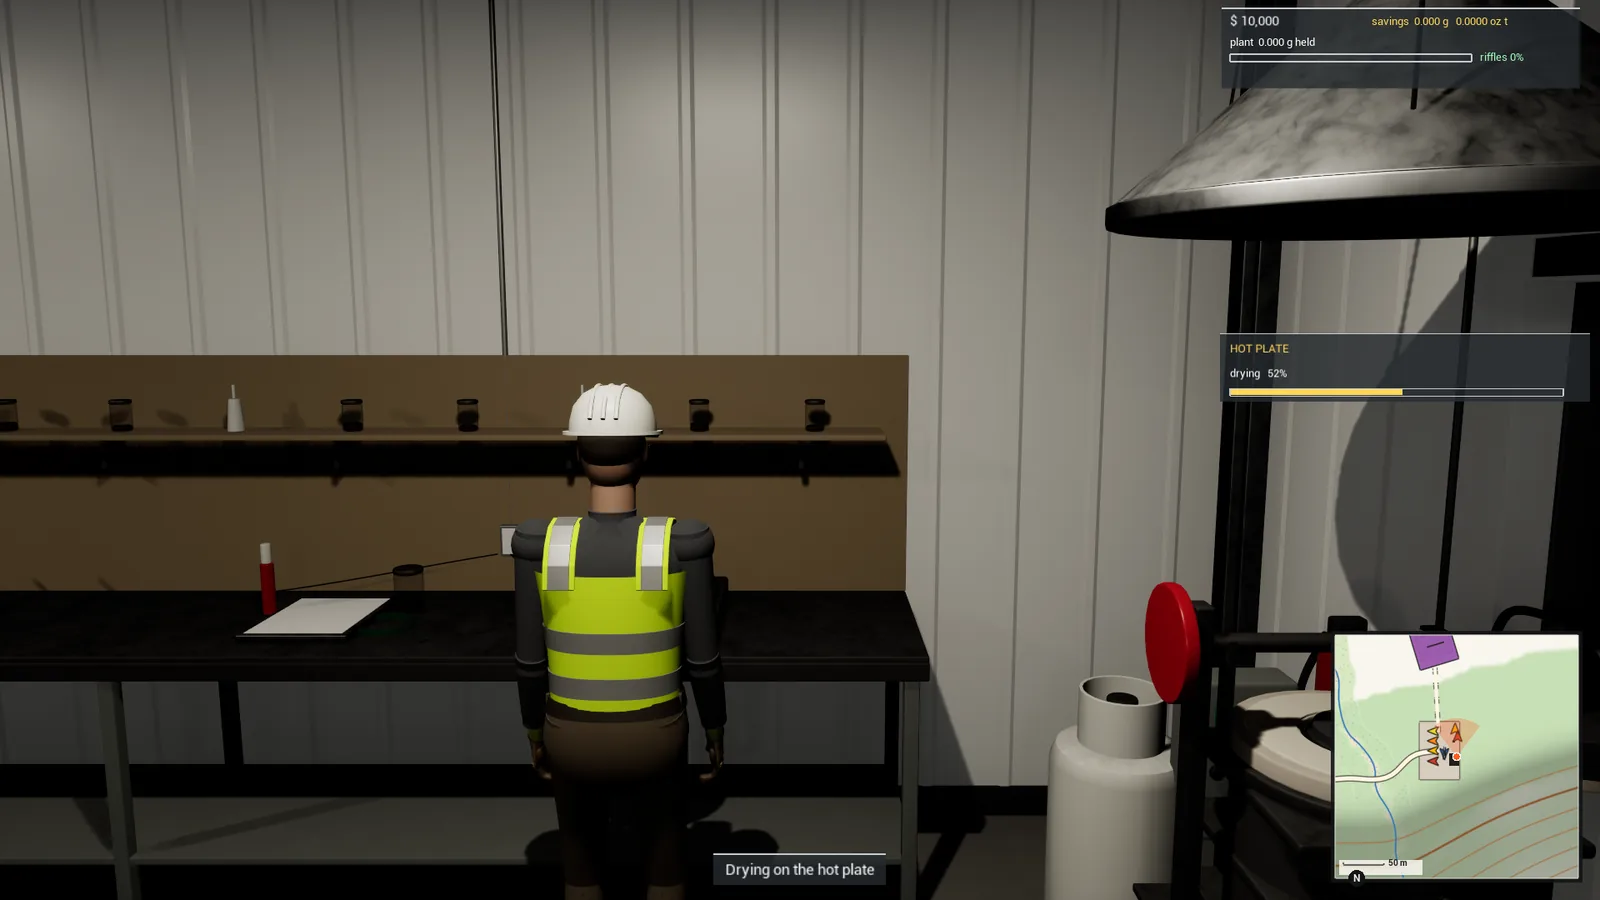
When the table is done, press Y (E) at it to take the concentrate pan. Carry it to the hot plate on the bench and press Y again to set it on to dry. The panel shows the drying as it goes; a bigger pan takes longer.
Step 6: Pull the magnetite
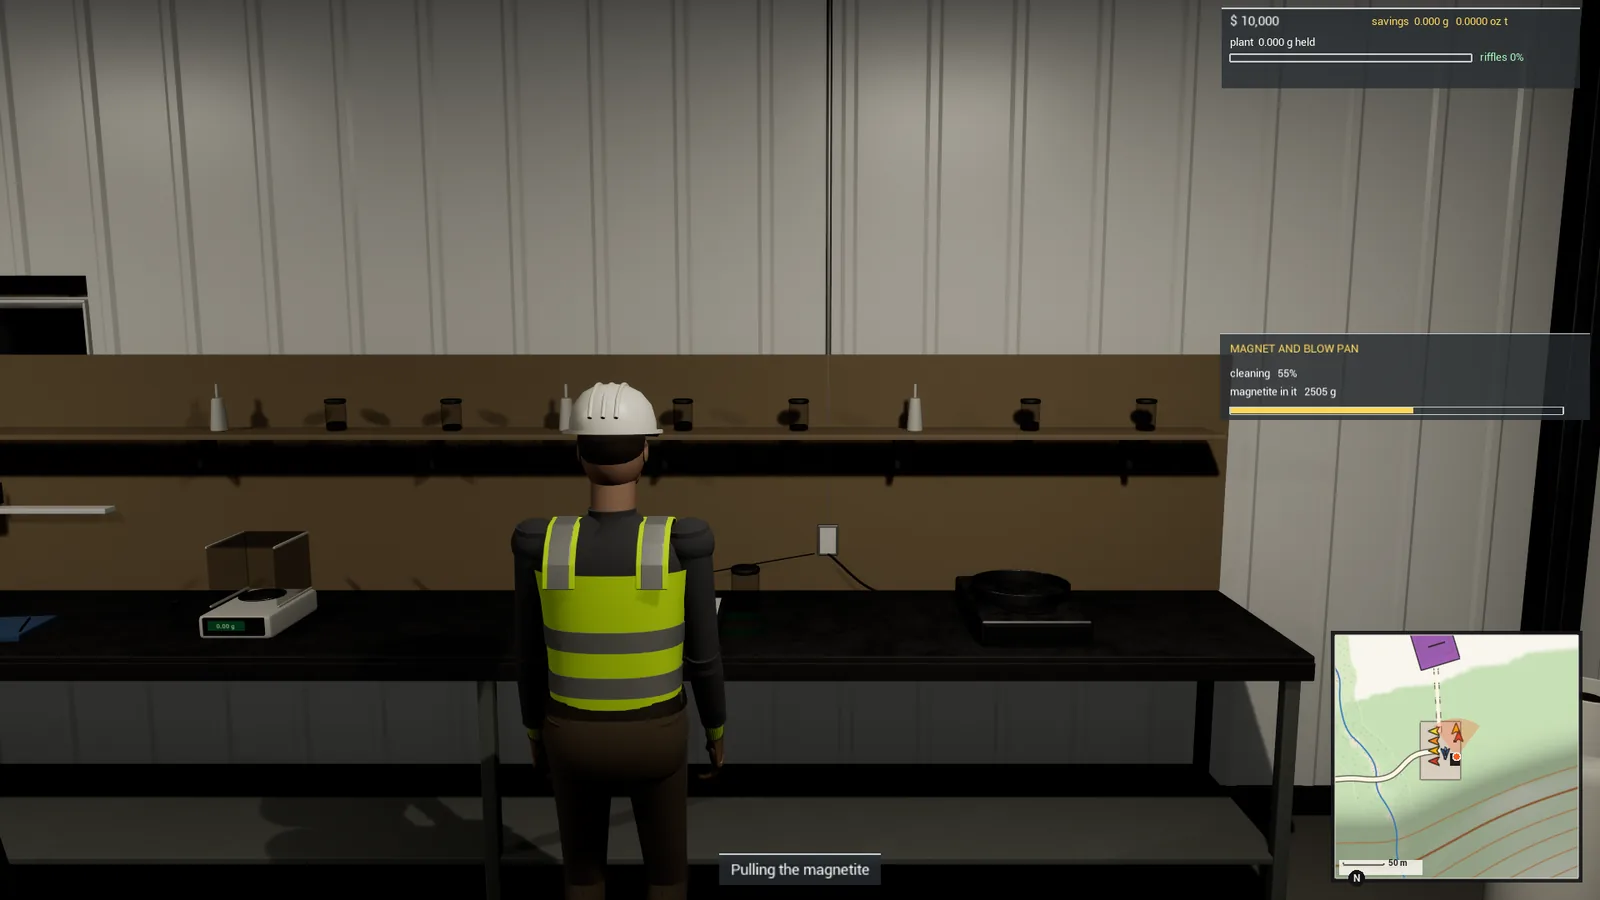
Take the dried pan off the hot plate (Y) and carry it to the magnet tray beside it. Press Y to pull the magnetite and blow off the sand: the magnet takes out the black magnetite and the light sand is blown off, leaving clean gold. The panel shows how much magnetite comes out.
Step 7: Weigh the gold
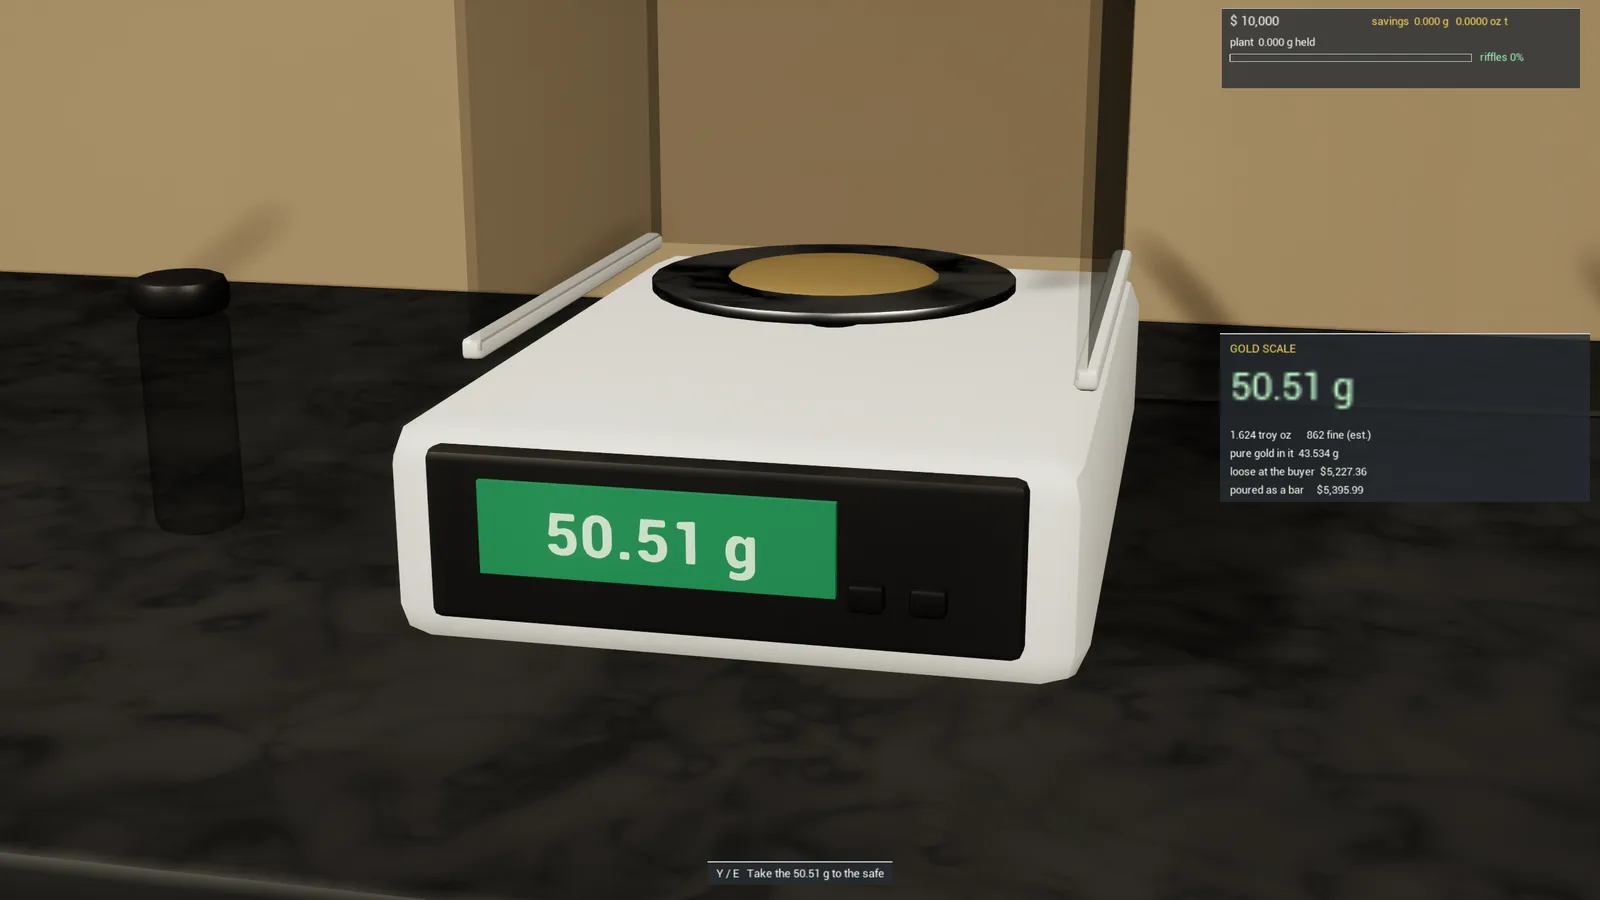
Take the clean gold off the magnet tray (Y) and carry it to the gold scale. Press Y to weigh the gold. The scale's readout and the panel on the right show the weight in grams and troy ounces, its fineness, the pure gold in it, and what it would fetch at the assay office sold loose and poured as a bar.
Step 8: Lock it in the safe
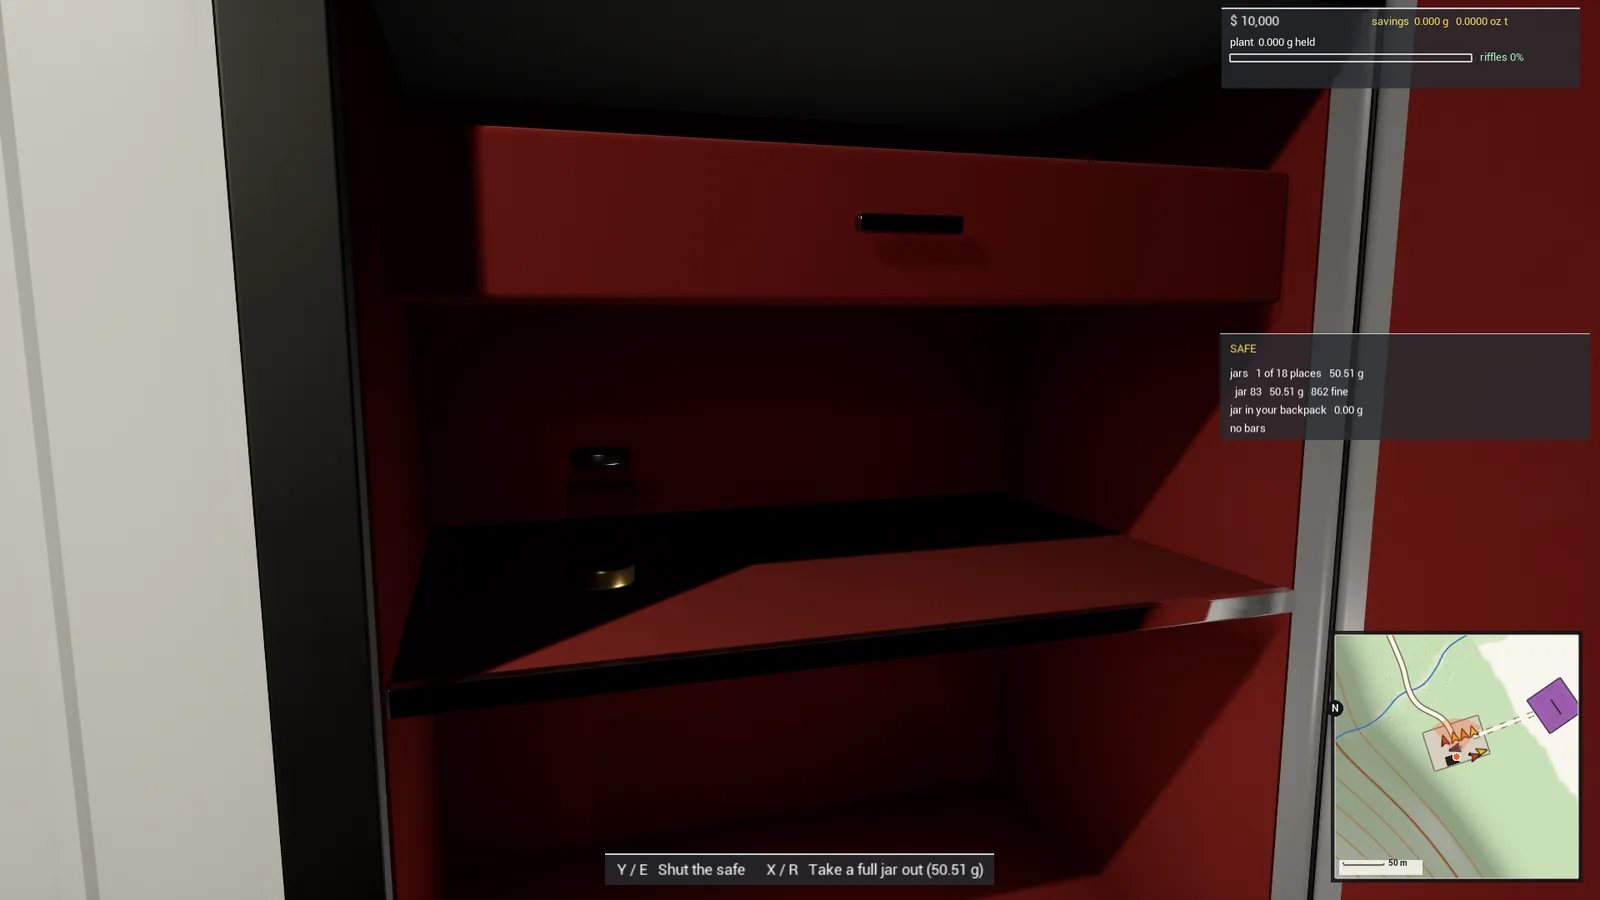
Press Y at the scale again to take the weighed gold, carry it to the safe and press Y: Lock the gold in the safe. The safe opens and the gold goes into a jar of its own on a shelf. The safe has places for 18 jars, and its panel lists the jars, the jar in your backpack and your bars.
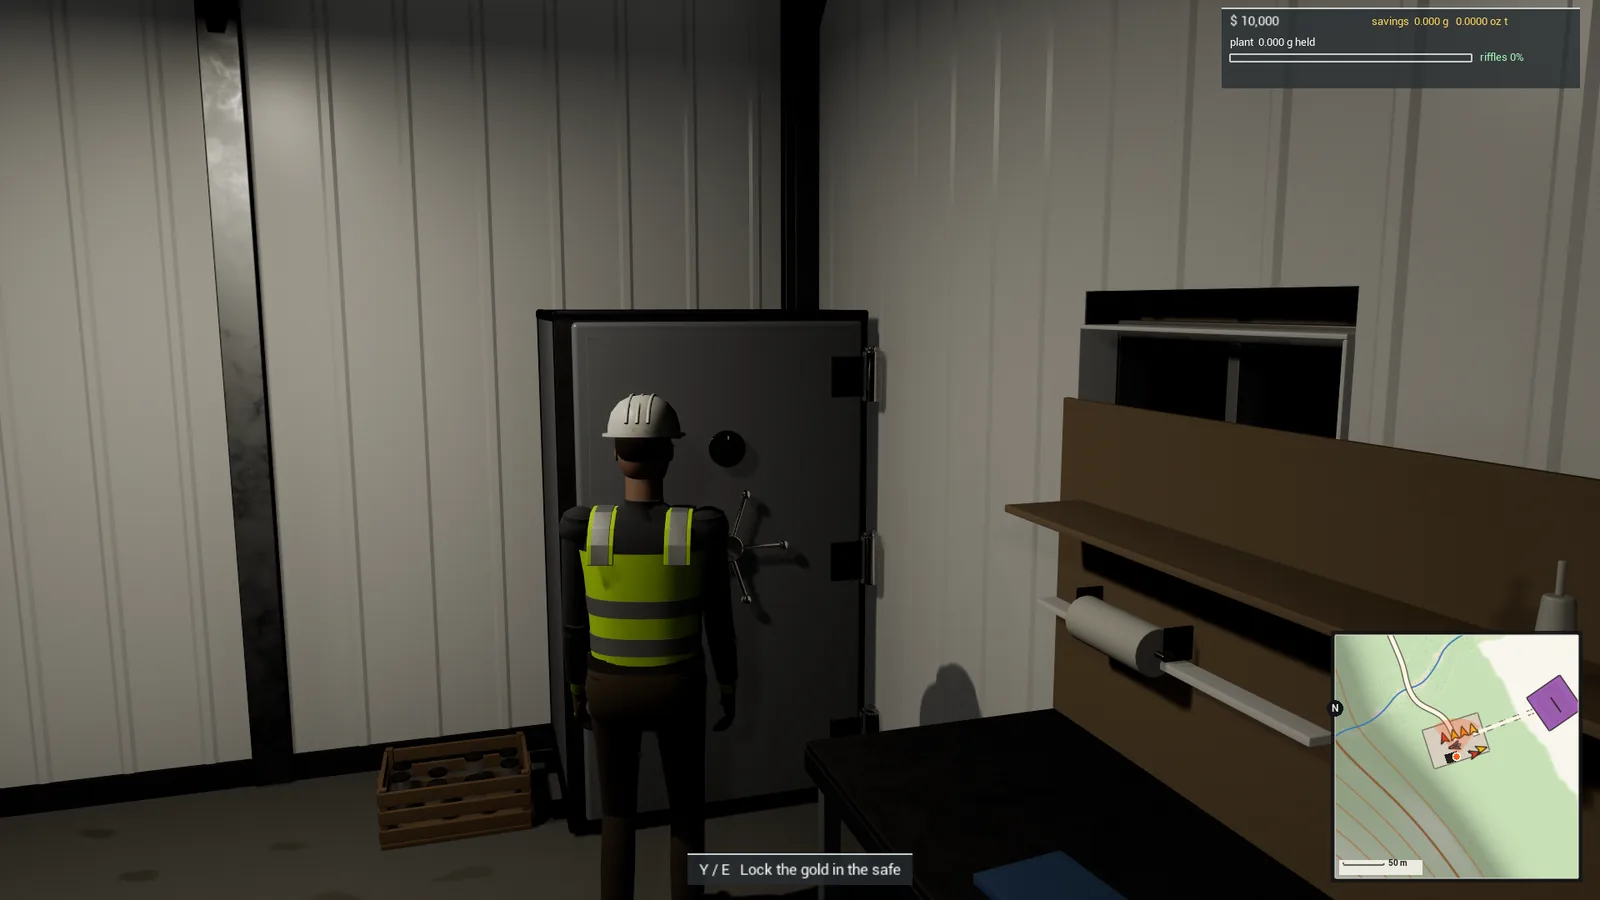
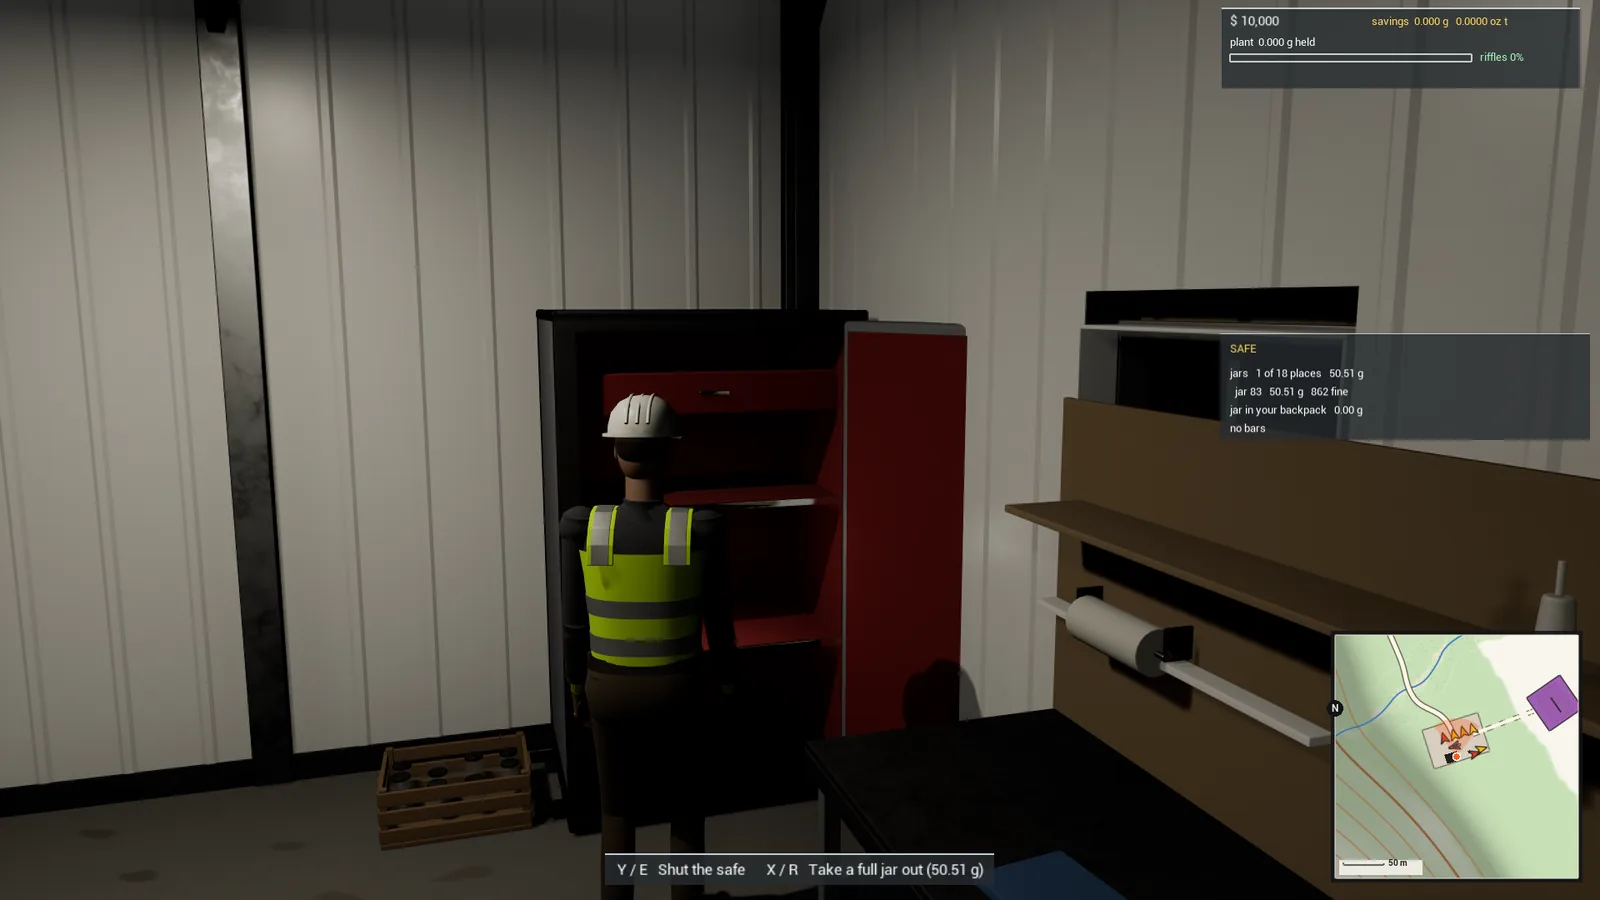
At the open safe:
- Y (E) puts the jar from your backpack in the safe (if it has gold in it), or shuts the safe.
- X (R) takes a full jar out into your backpack. Your backpack holds one jar, and it has to be empty of gold first.
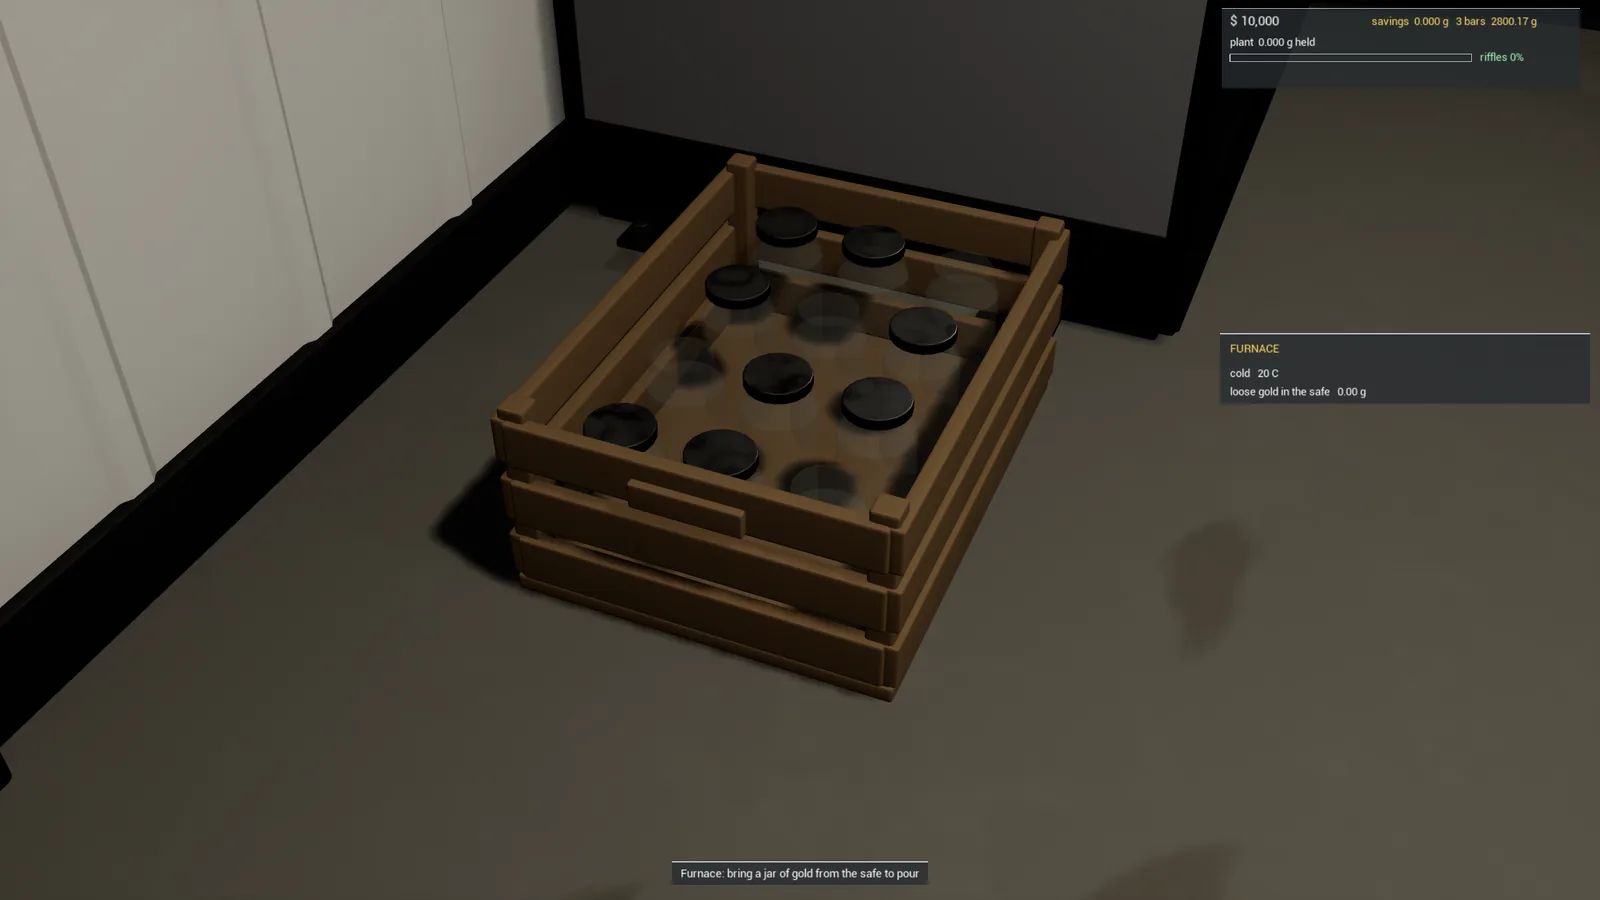
The crate of empty jars beside the safe gives you an empty jar for your backpack (Y) if you don't have one.
Step 9: Pour a bar in the furnace
Take a full jar out of the safe (X at the open safe) and walk to the furnace. Press Y (E): Pour a bar from the jar in your backpack. Up to 1 kg goes into the crucible with borax and the furnace heats up; the panel shows the temperature climbing.
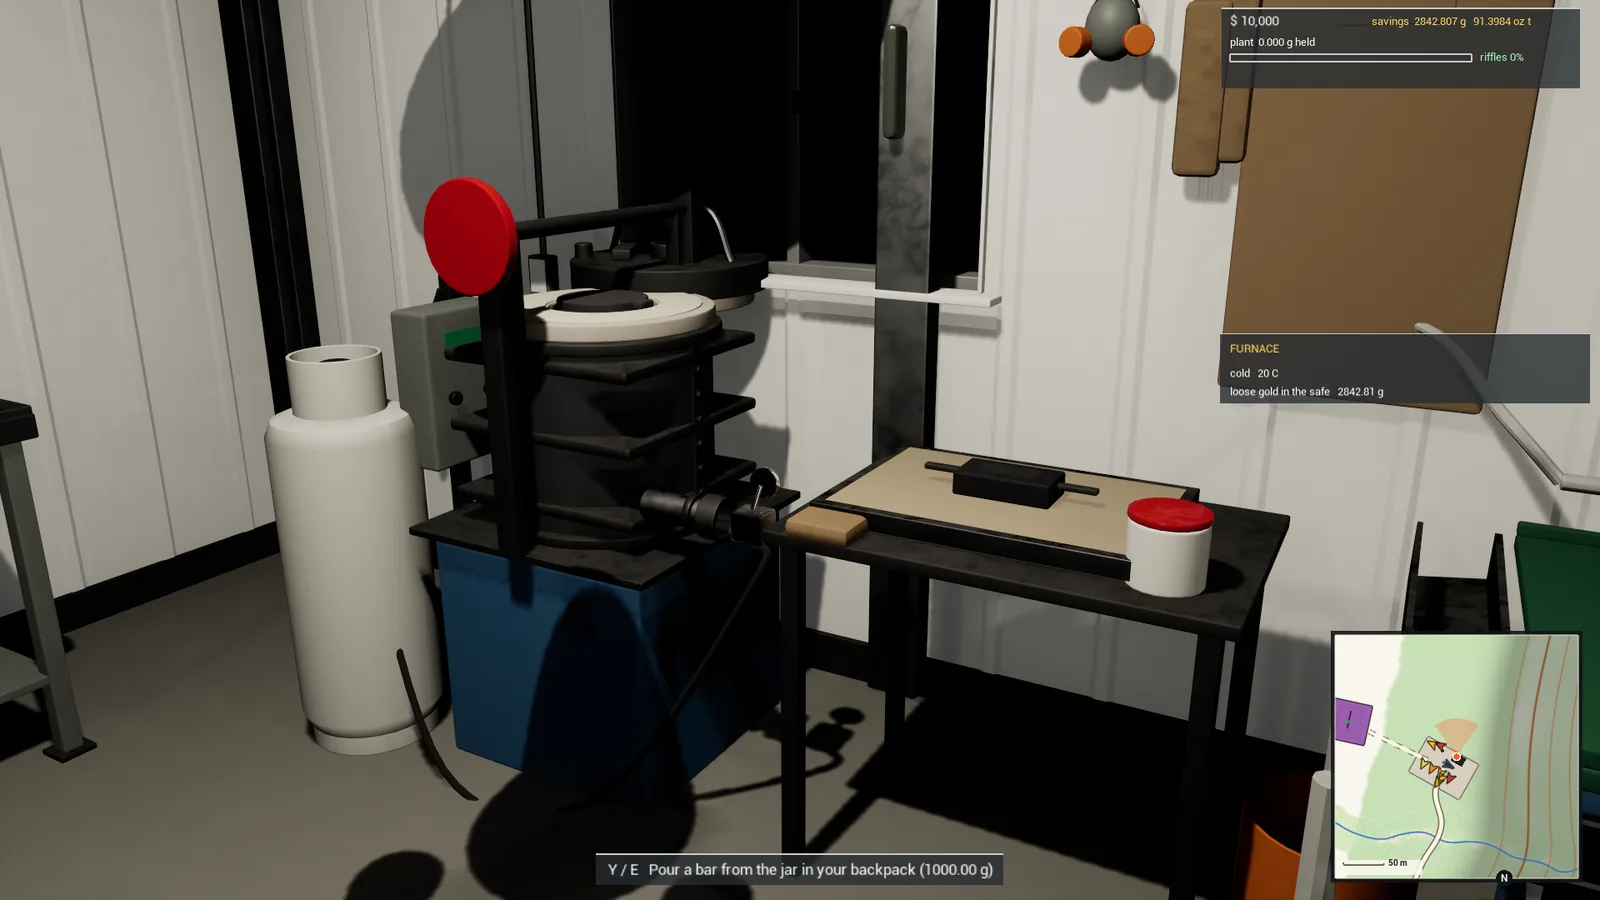
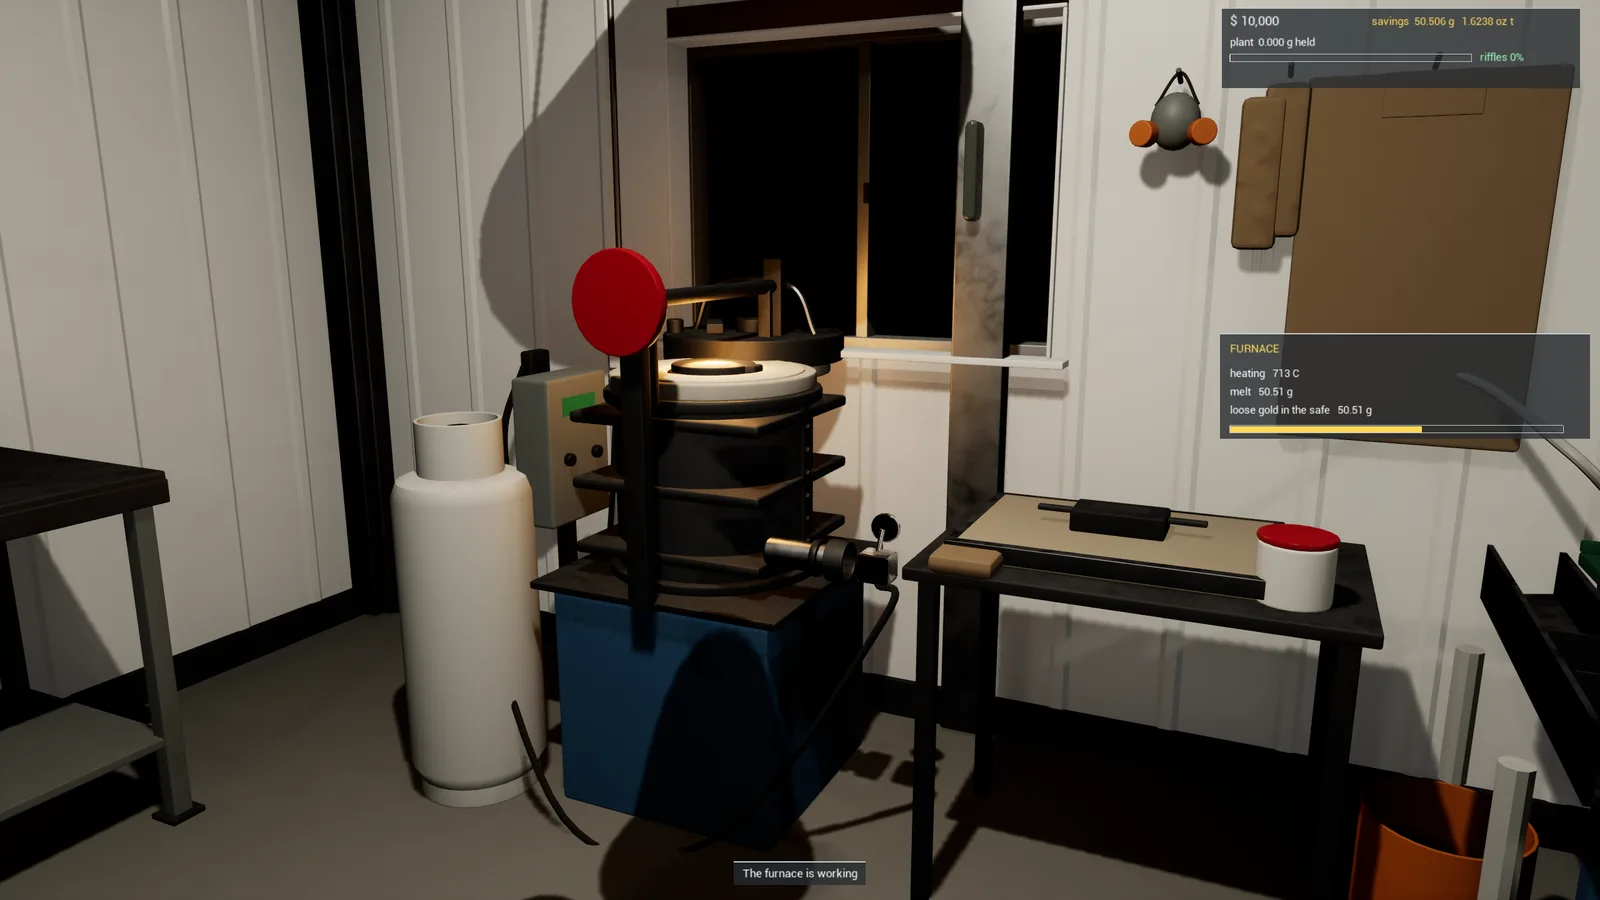
At about 1,150 °C the crucible tips and the melt runs into the mould on the tray beside it. The bar glows, then cools in the mould.
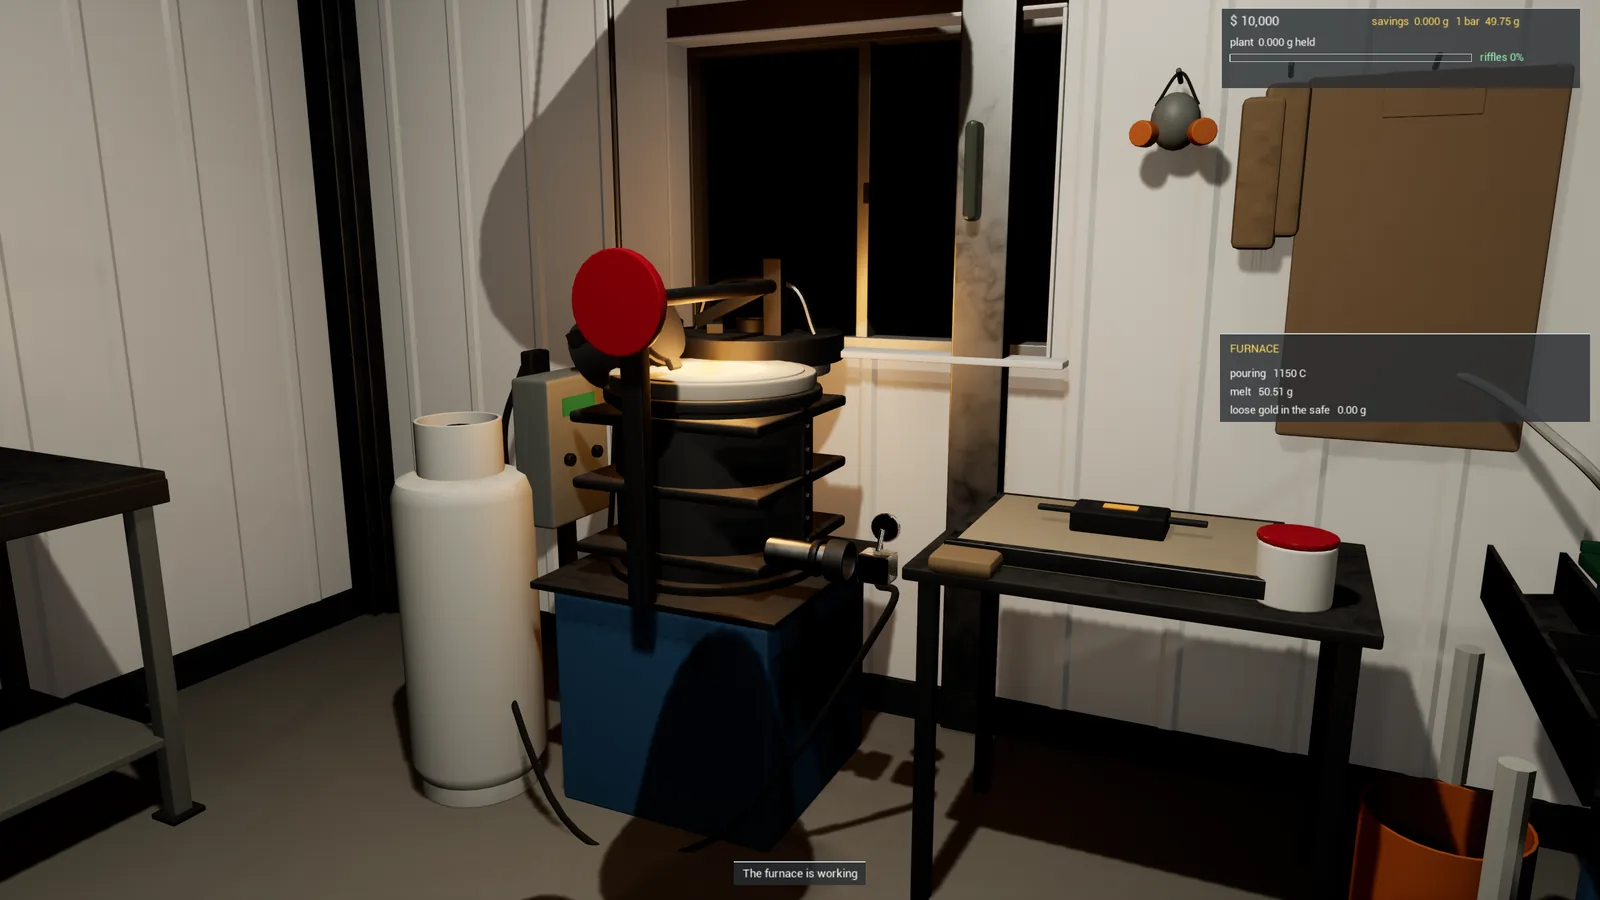
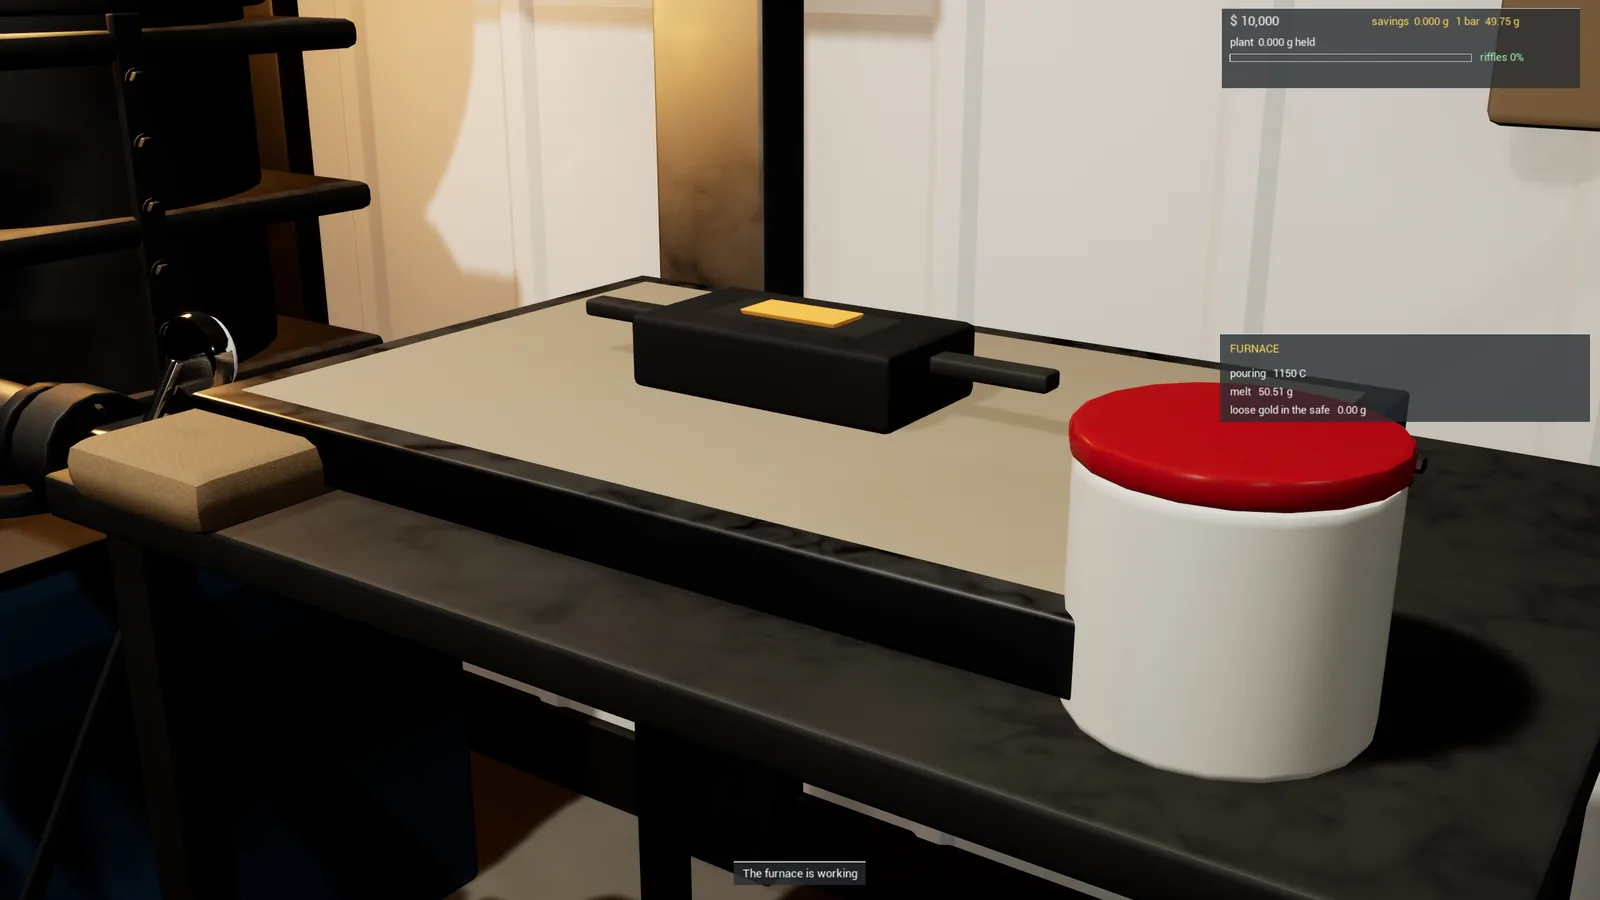
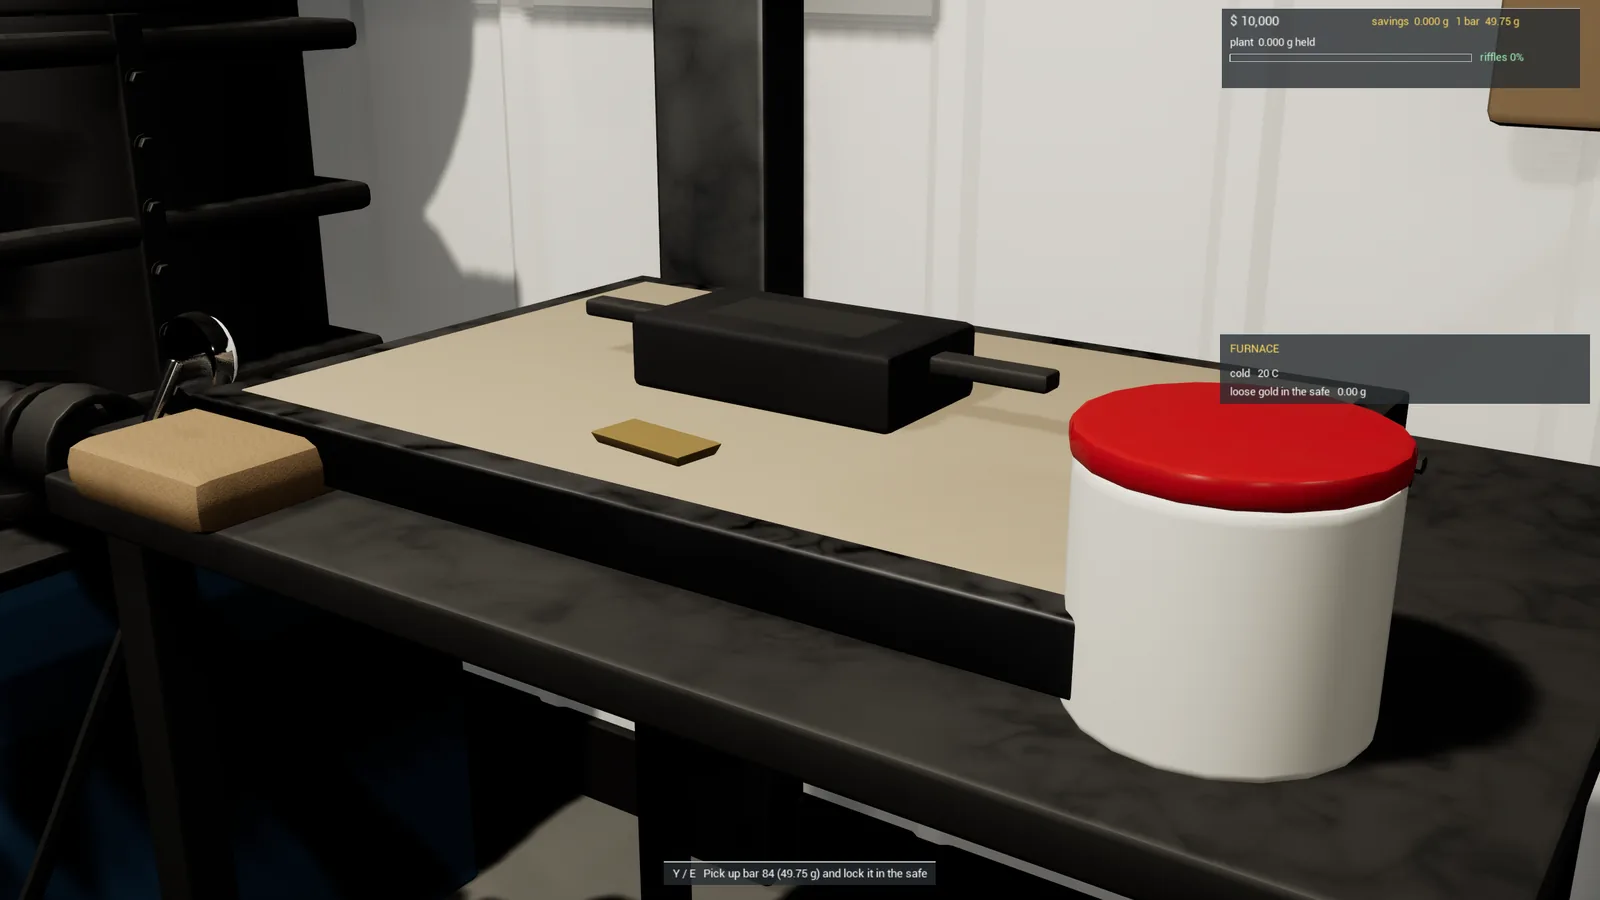
The flux takes about 1.5% of the weight as slag, the dirt and base metal the magnet didn't get, so the bar comes out a little lighter and finer than the gold that went in. None of the gold itself is lost.
Step 10: Pick up the bar
When the bar has cooled it's knocked out of the mould onto the tray and stamped with its weight and fineness. Stand at the mould and press Y (E): Pick up bar N and lock it in the safe.
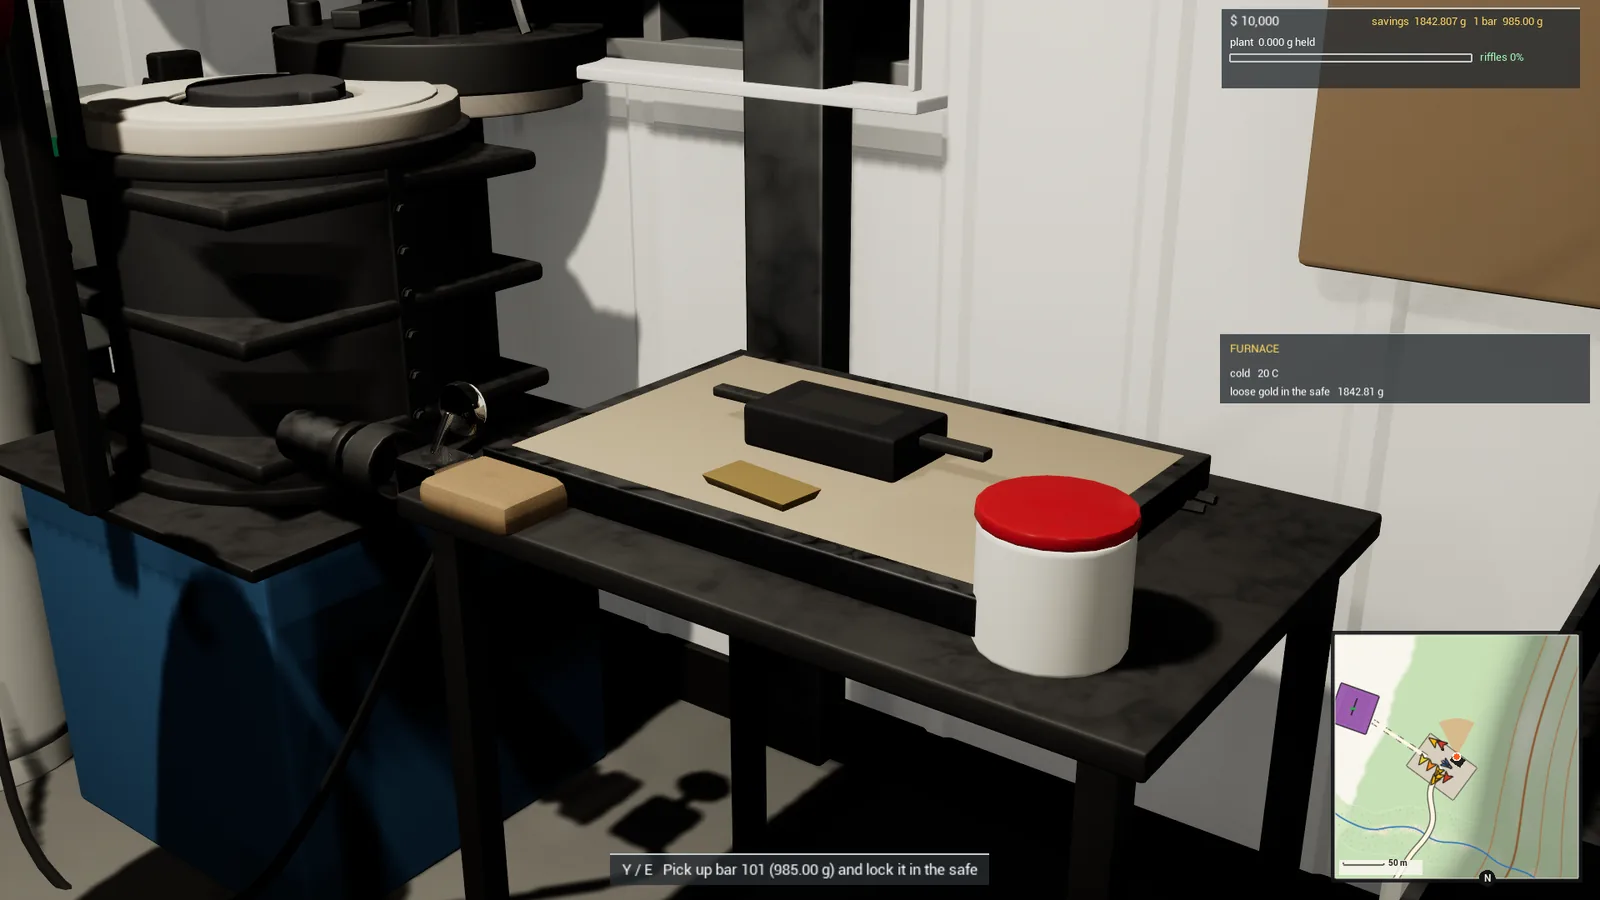
The bar goes onto the safe's shelf with your other bars, and the money panel at the top right of the screen shows how many bars you have and what they weigh.
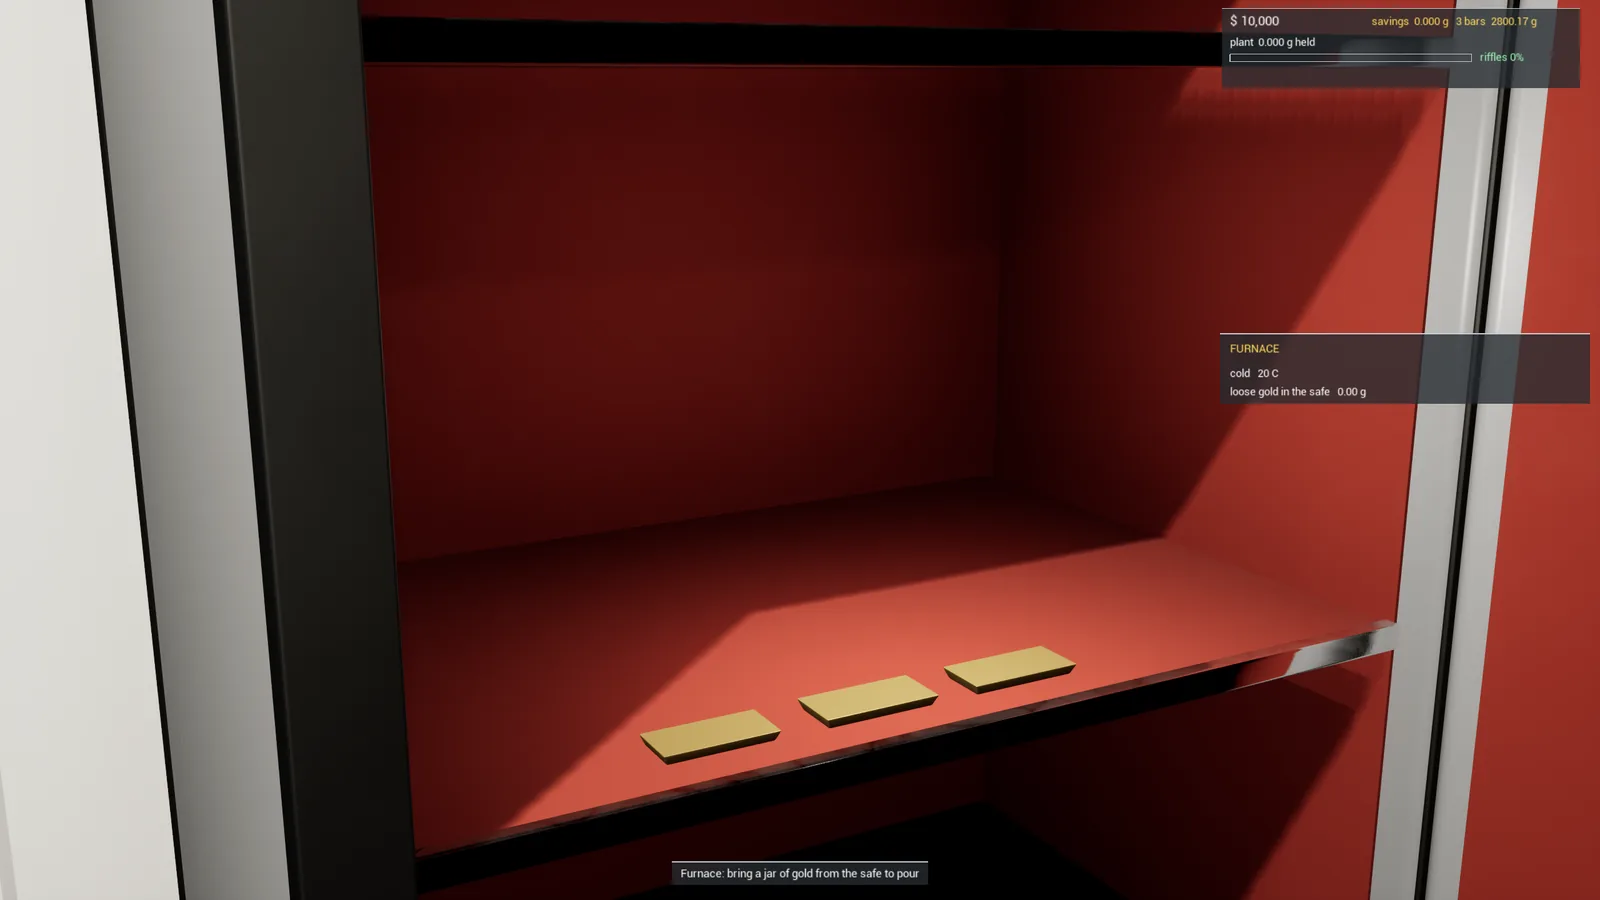
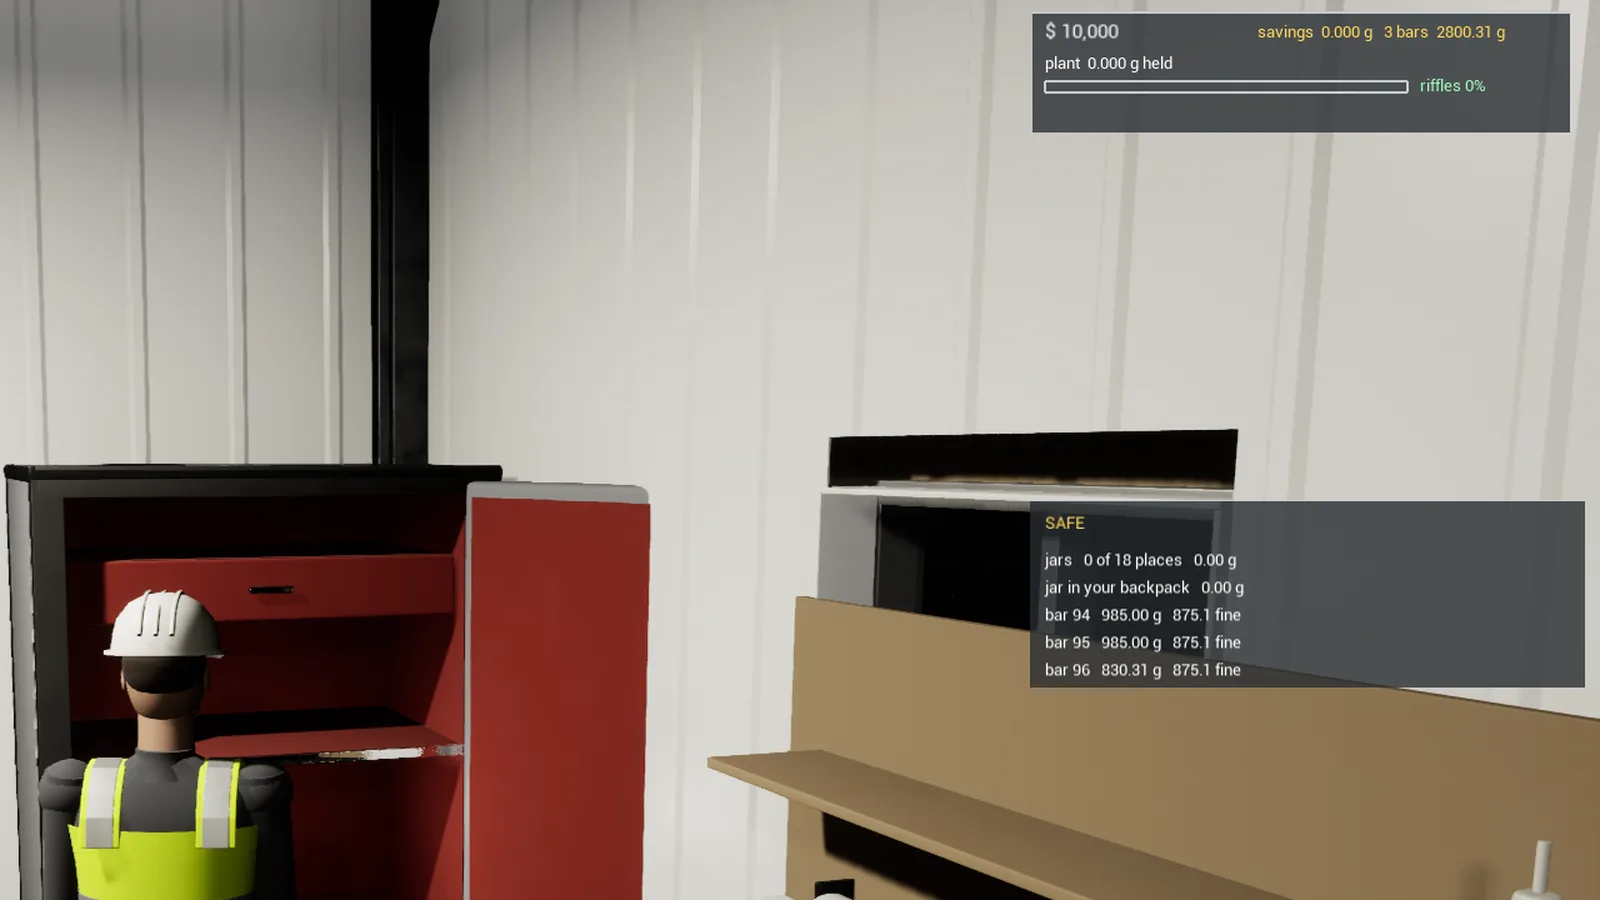
For more bars, take the next jar out of the safe and pour again. Each pour takes up to 1 kg from the jar in your backpack, so a big jar makes several bars.
Step 11: Sell your bars at the assay office
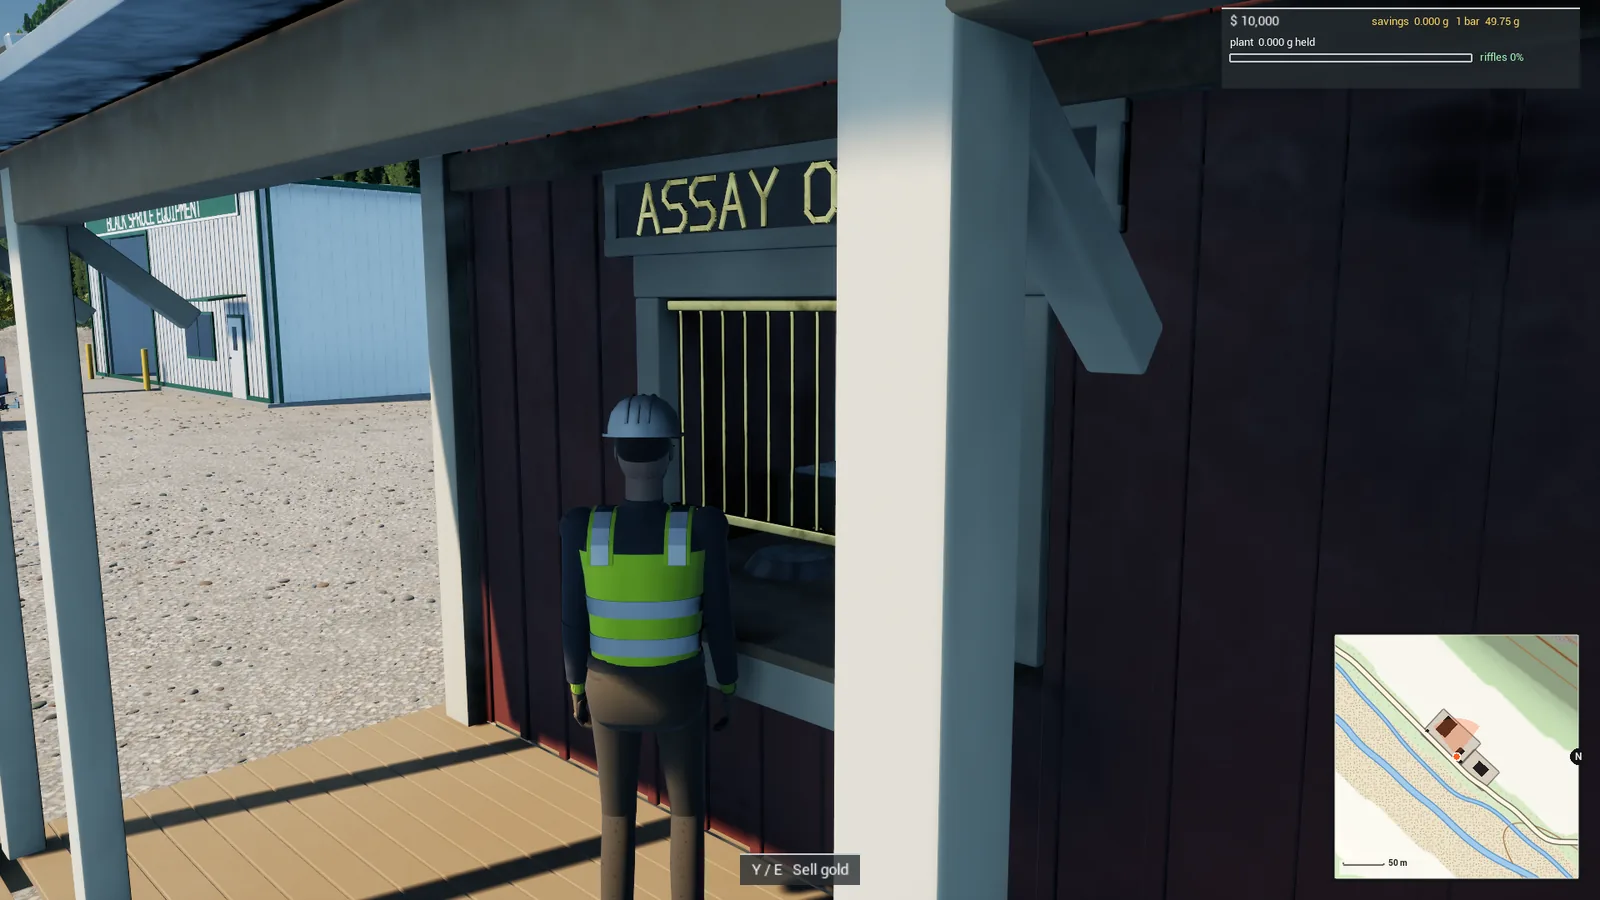
Drive to town (the map's Gold buyer & dealer) and walk up to the assay office counter. Press Y (E): Sell gold.
The WE BUY GOLD screen shows your savings, today's gold price and, at the bottom of the list, the Dore bars in the safe. Pick SELL BARS and confirm: every bar in your safe is sold at once, and the money goes into your account. Bars don't have to be carried to town: they're sold straight out of the safe.
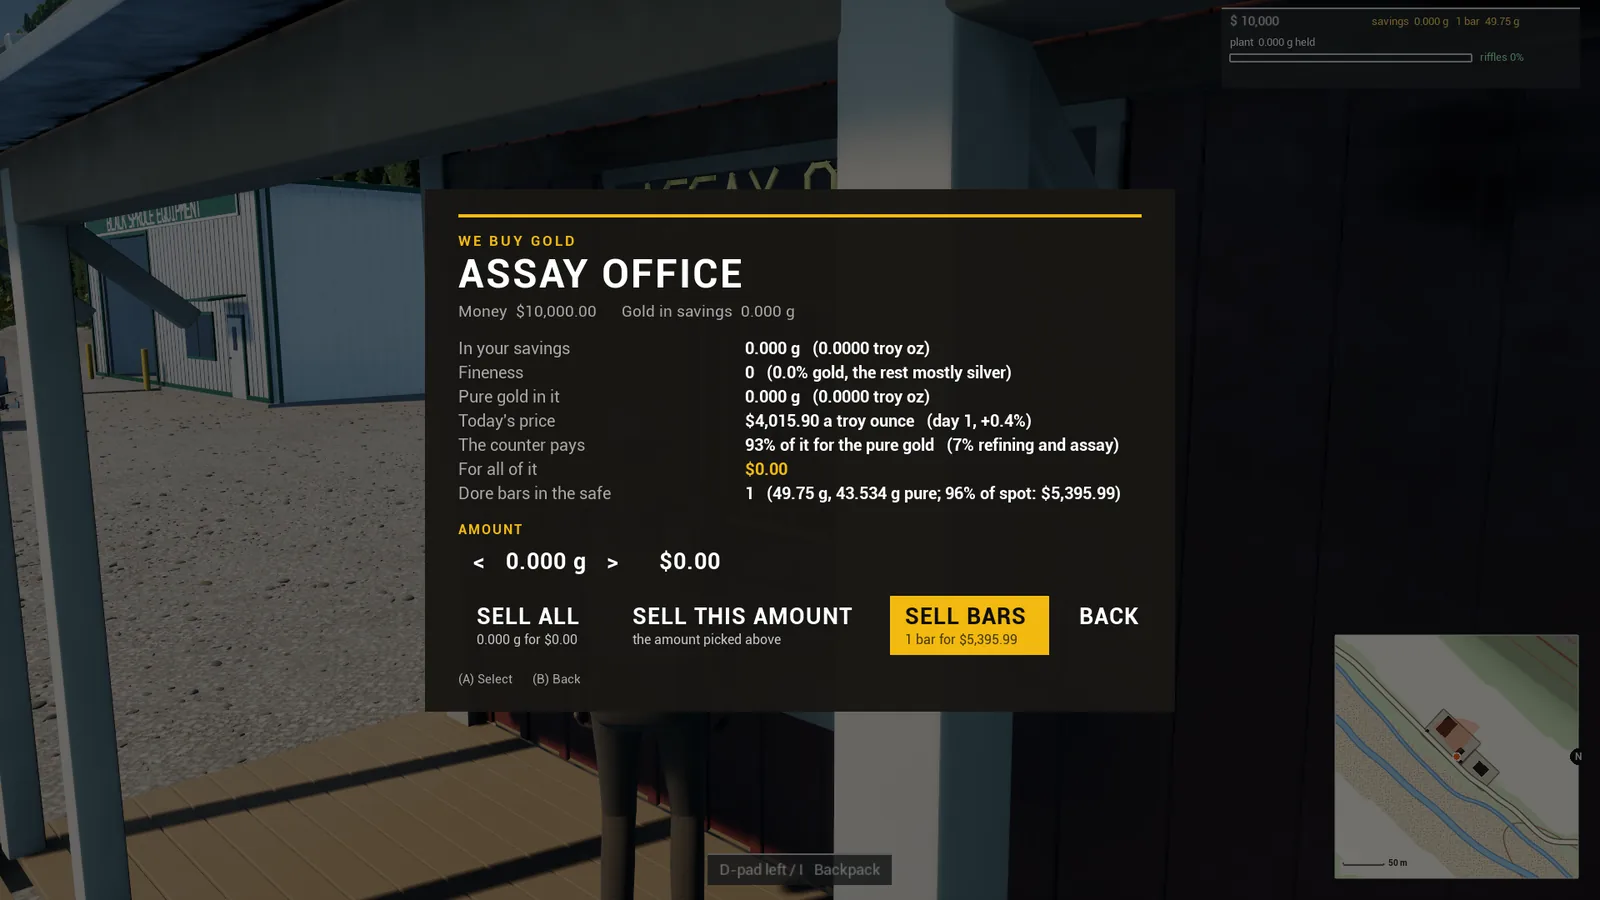
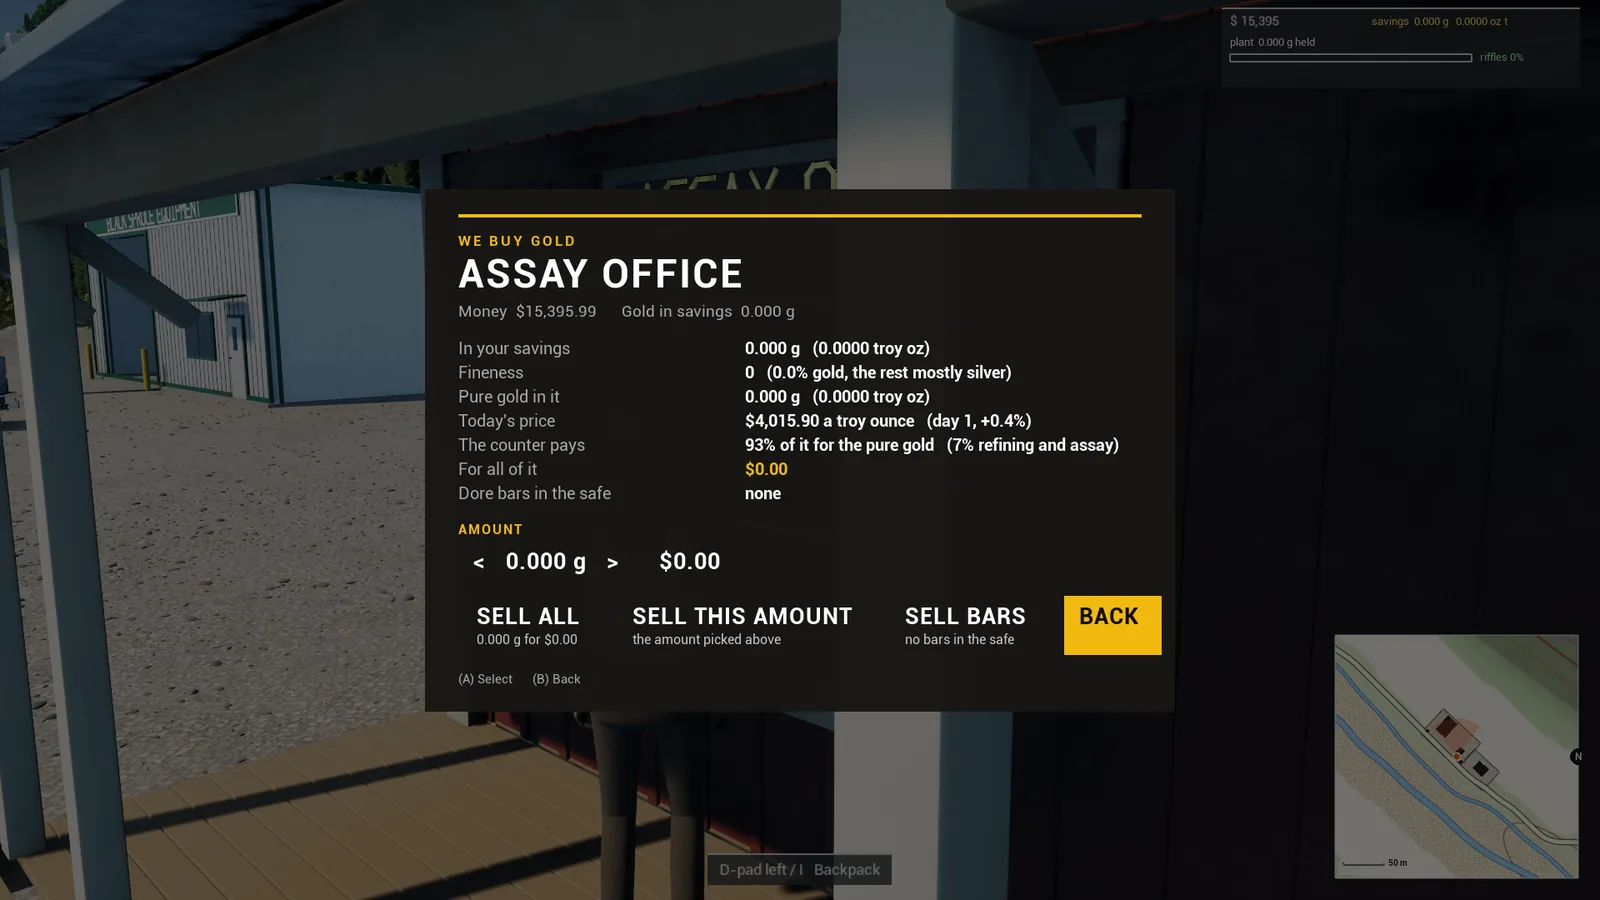
A bar fetches 96% of the day's price for the pure gold in it. Loose gold from your savings (SELL ALL or SELL THIS AMOUNT) fetches 93%, because the buyer still has to refine it. Pouring your gold into bars before you sell is worth the trip to the furnace.
Good to know
- Every step keeps the gold to the last speck: nothing is lost between the tubs and the bar except the fine gold the table sends to the tailings (and you can run those again).
- The stations keep working while you do something else: feed the next tub while the last pan dries.
- Tubs, jars, bars and the doors are all saved with your site.